While the Colt factory was rolling out their new auto loading pistol and the rest of the western world rapidly approached the most deadly war that man had ever seen, the Reiss Brothers pipe company of Chicago were happily trucking along making pipes as they had since the mid 19th century.
The Reiss Bros would go on to merge with the Premier Pipe Co. to form Reiss Premier Pipe Company of Chicago which itself would later merge with Kaufman Bros & Bondy to form Kaywoodie. But this post is less a history lesson in the mergers that would form the backbone of the American pipe market in the 20th century than it is about one RBC pipe in particular.

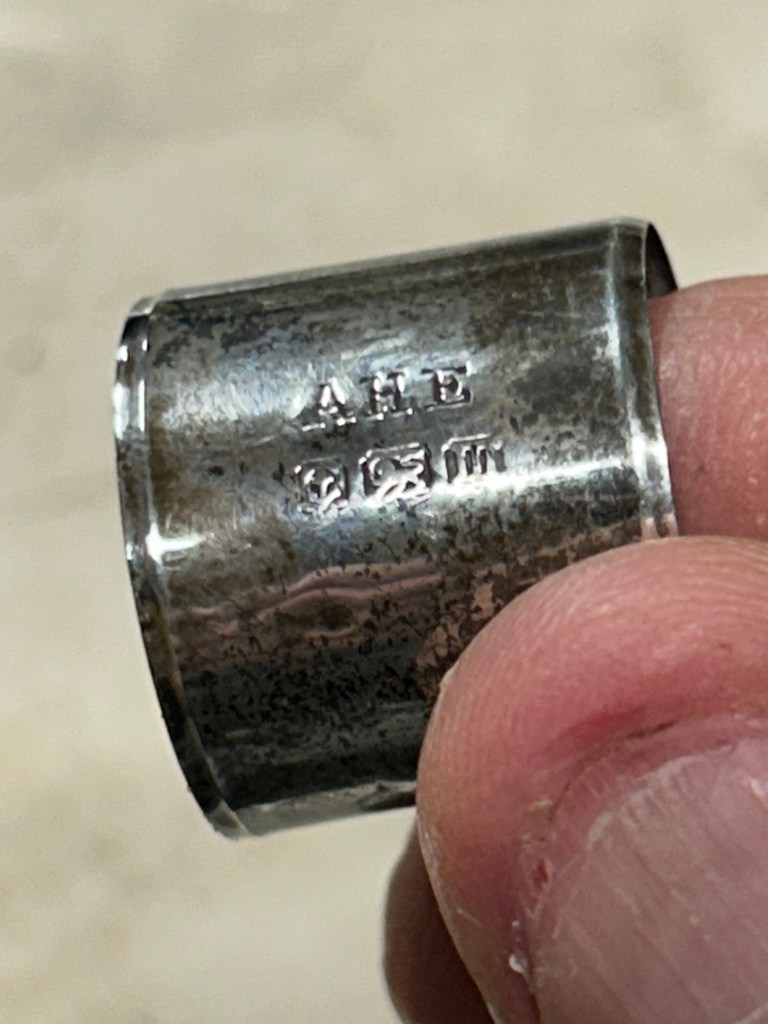
This pipe is unique for a few reasons, chief among them being it has actual English hallmarks as opposed to the faux hallmarks seen on most turn of the century American pipes.
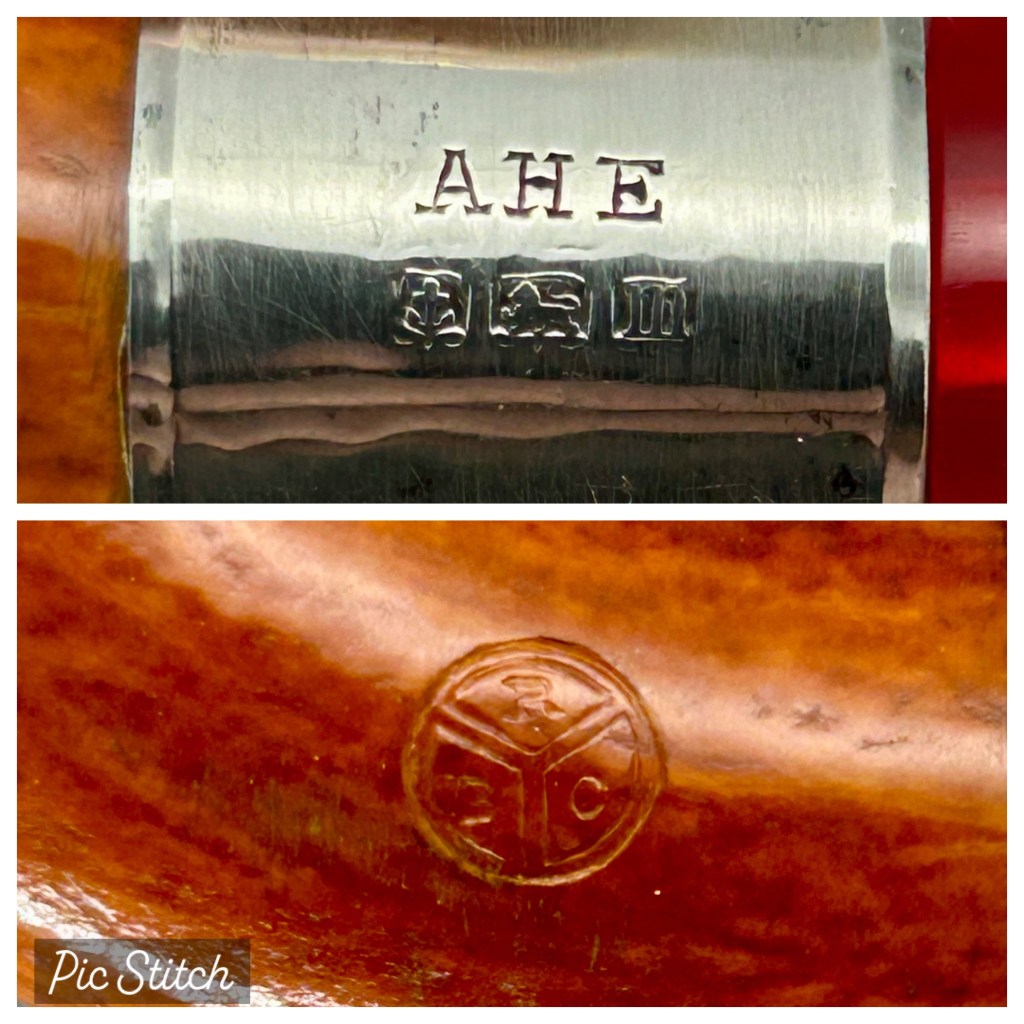
While I could find no silversmith or pipe mounter associated with the AHE hallmark, historian and researcher extraordinaire Jon Gus was able to find a tantalizing lead.
AHE is a sufficiently unusual combination of letters to narrow the field considerably and that’s helpful. Having said that I have no smoking gun that will provide certainty, but I do have a decent candidate for you to think about. Alan Howard Elkington (1858-1931) was a manufacturing silversmith operating in Birmingham throughout the time period in question (see attached 1911 census, one of many sources attesting to his profession). I couldn’t find a clear image of his hallmark on other objects online; if you can that might settle it one way or the other. I haven’t done a deep dive but rather have the impression that this Elkington was not closely related to or involved with the much larger Elkington business based in Birmingham. (Jon Guss)
The only other examples of AHE I was able to find were all Gourd Calabash pipes, so maybe Mr. Elkington was a specialist gourd mounter. The fact that the pipe was mounted in Birmingham by a mounter that seems to have specialized in Calabashes leads me to believe the pipe was in fact fully manufactured in Birmingham and simply distributed by RBC.
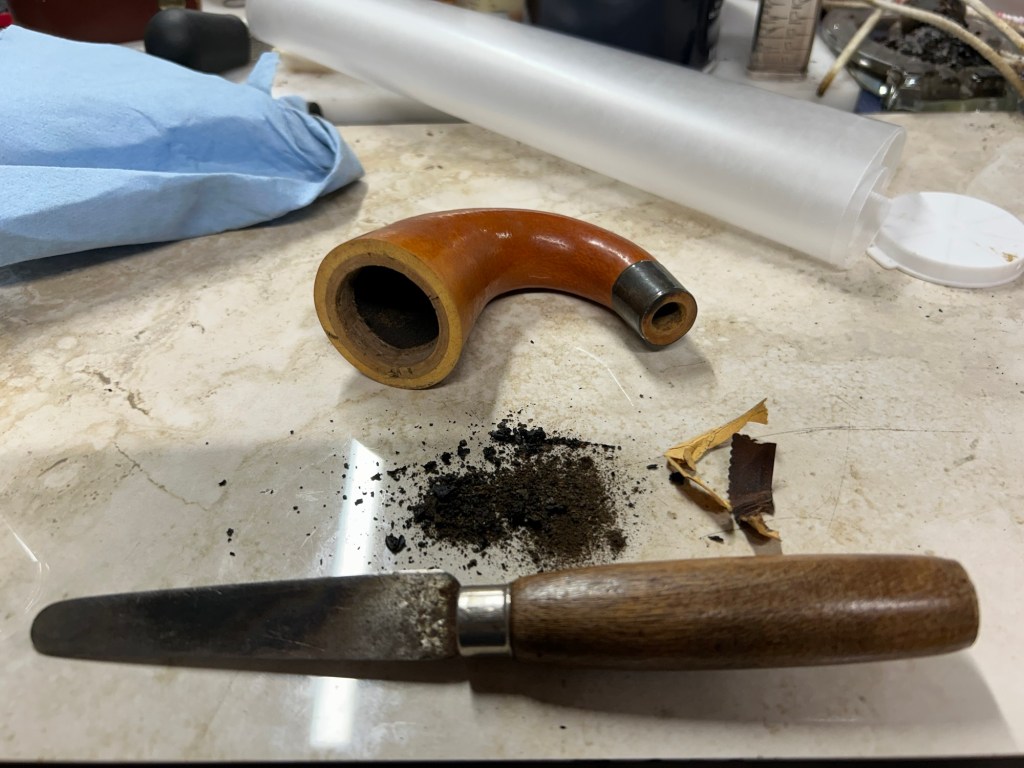
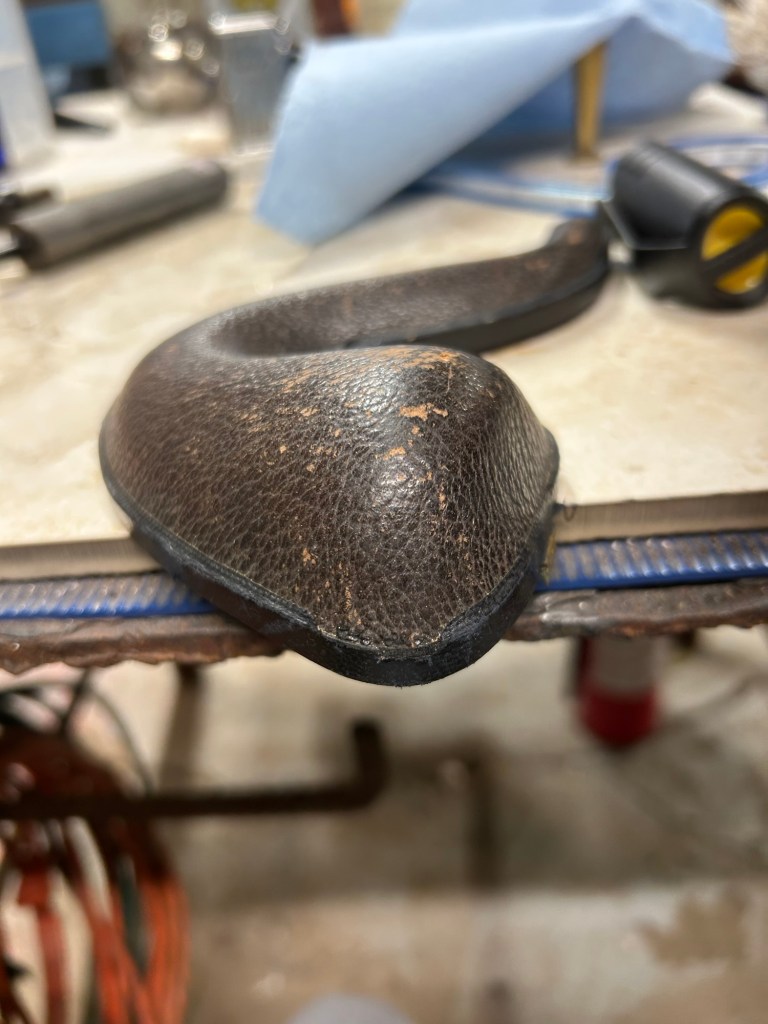
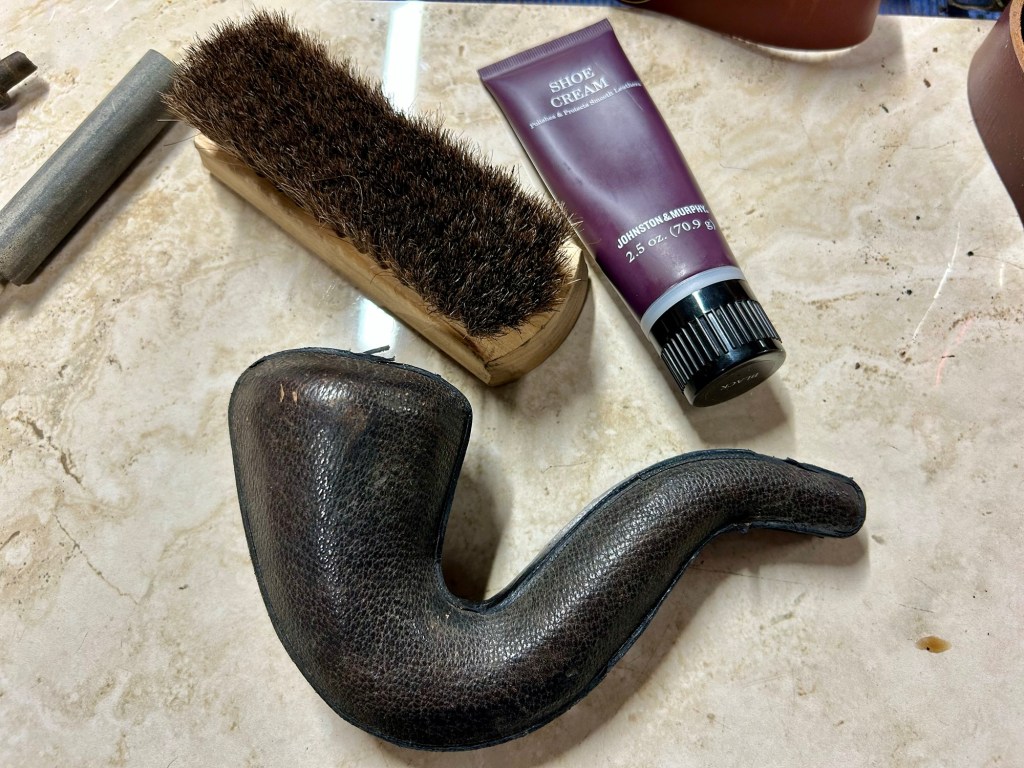
The pipe was in a deplorable state when I received it, the hinges and rim plate of the case were battered by 114 years of wear and tear. The stem had been whittled down with appears to be a butter knife to form a new tenon and the pipe was chock full of years of tar and dottle accumulation.
The first order of business was to clean the gourd, I scraped out the interior of the pipe as best I could and let it air out for a few days.
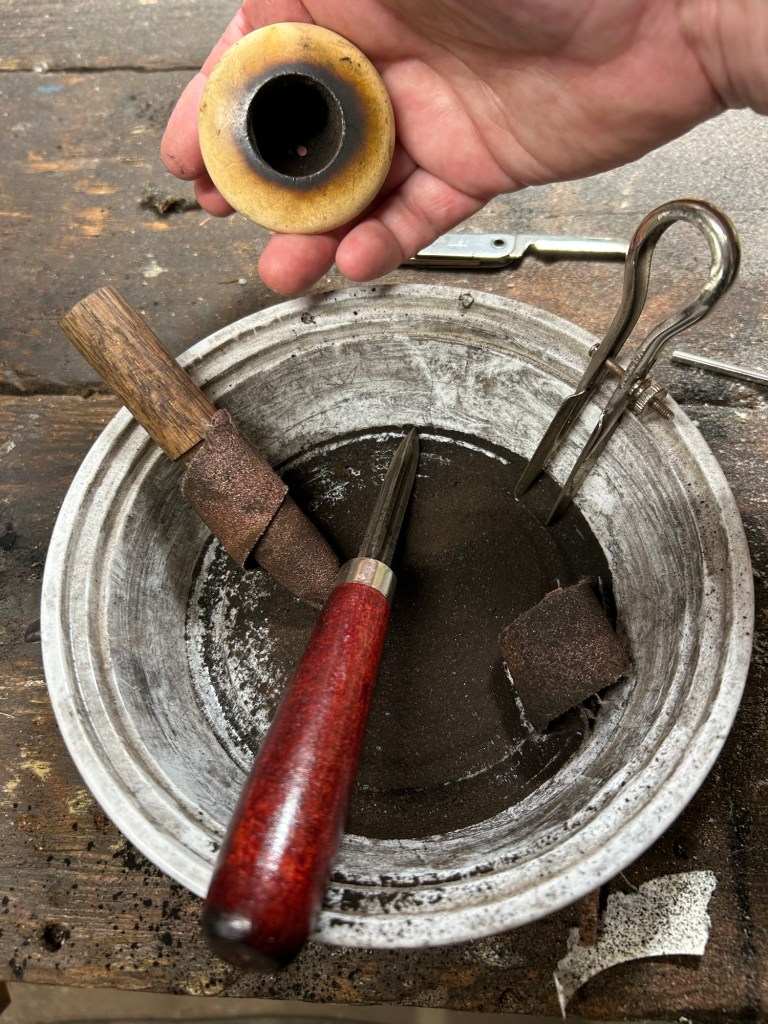
Most of the reaming was accomplished with my trusty tri-blade reamer, a cooks compass reamer, and a purpose made oak dowel rod wrapped in 80g emery cloth.
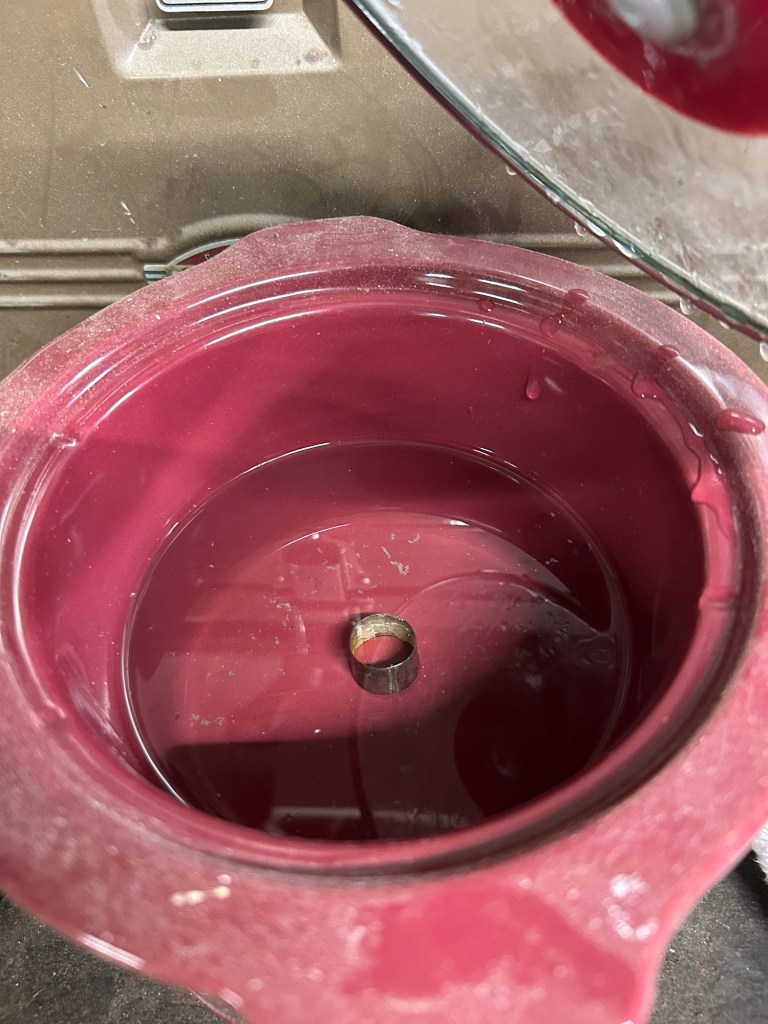
Next, it was time remove the mounting for cleaning and re-affixing. Once the silver was safely off the gourd I put it in a pickle solution to remove the heavy oxidation and clean the interior in preparation for epoxy. My pickle solution is a small crockpot with a few tablespoon of Rio-Pickle
https://www.riogrande.com/product/rio-pickle-for-non-ferrous-metals/5010233GP/
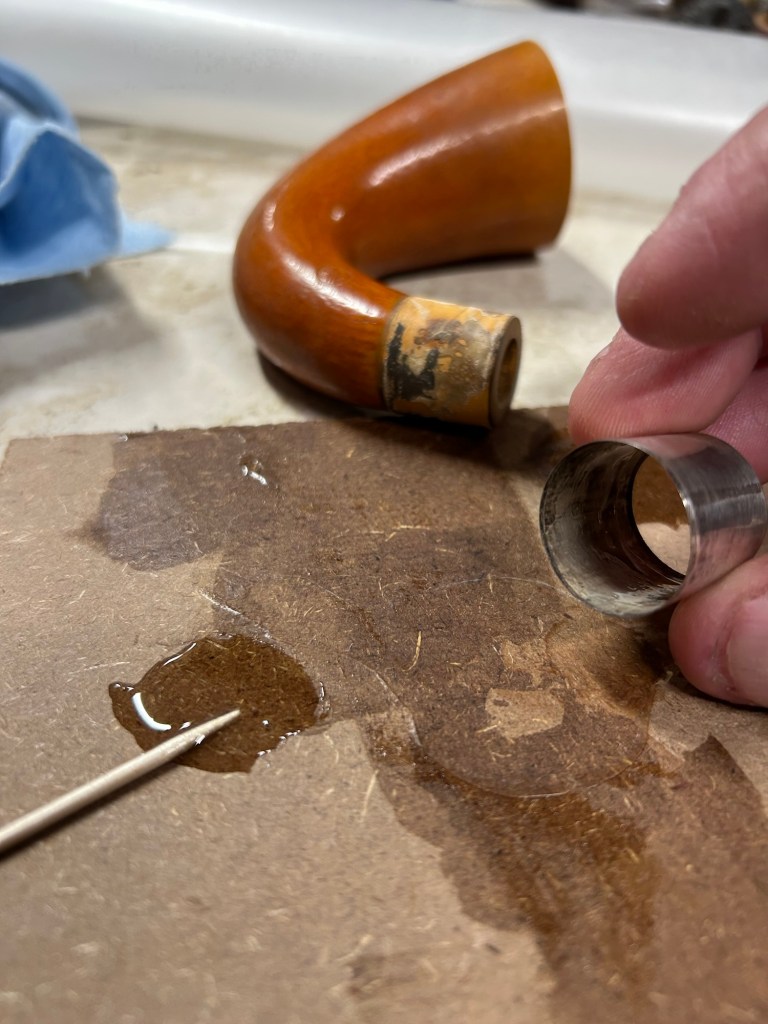
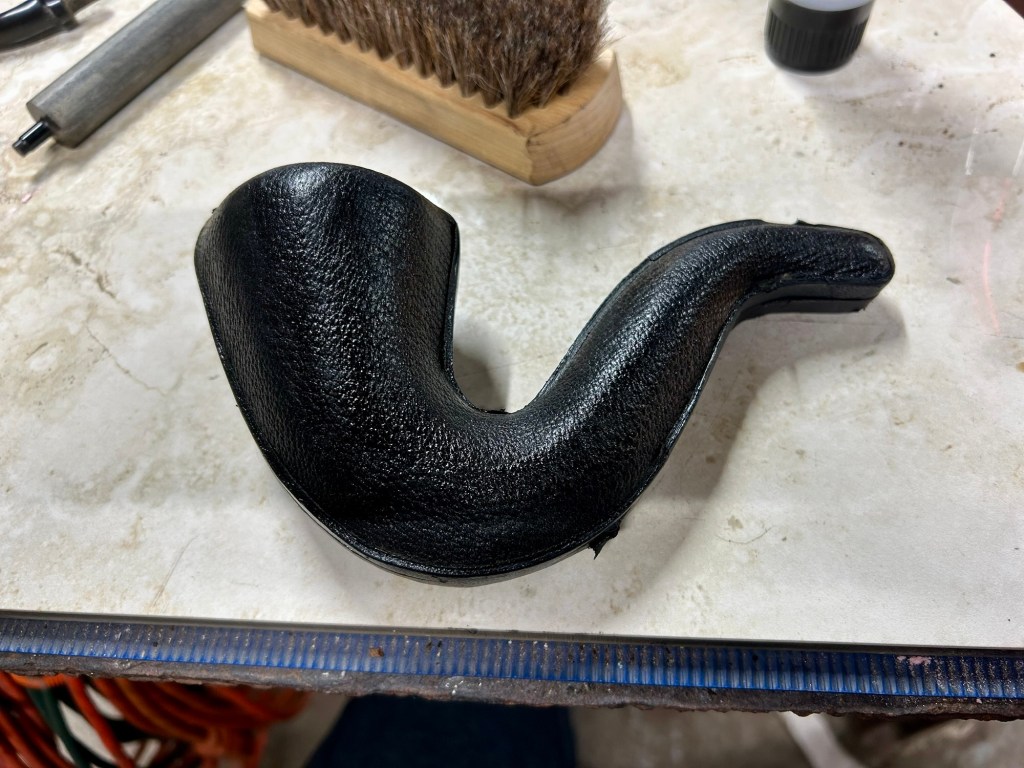
With the silver clean and ready for another 114 years, it was time to epoxy it back onto the shank.
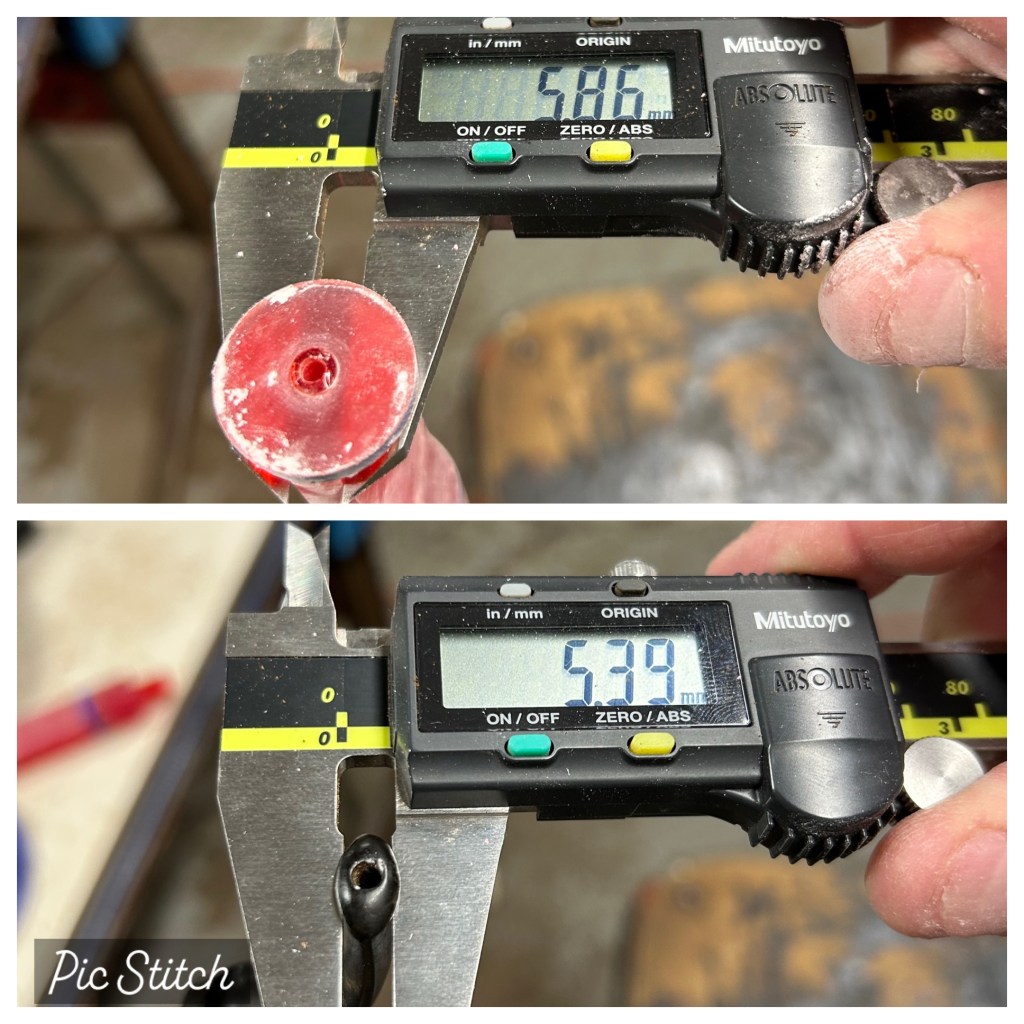
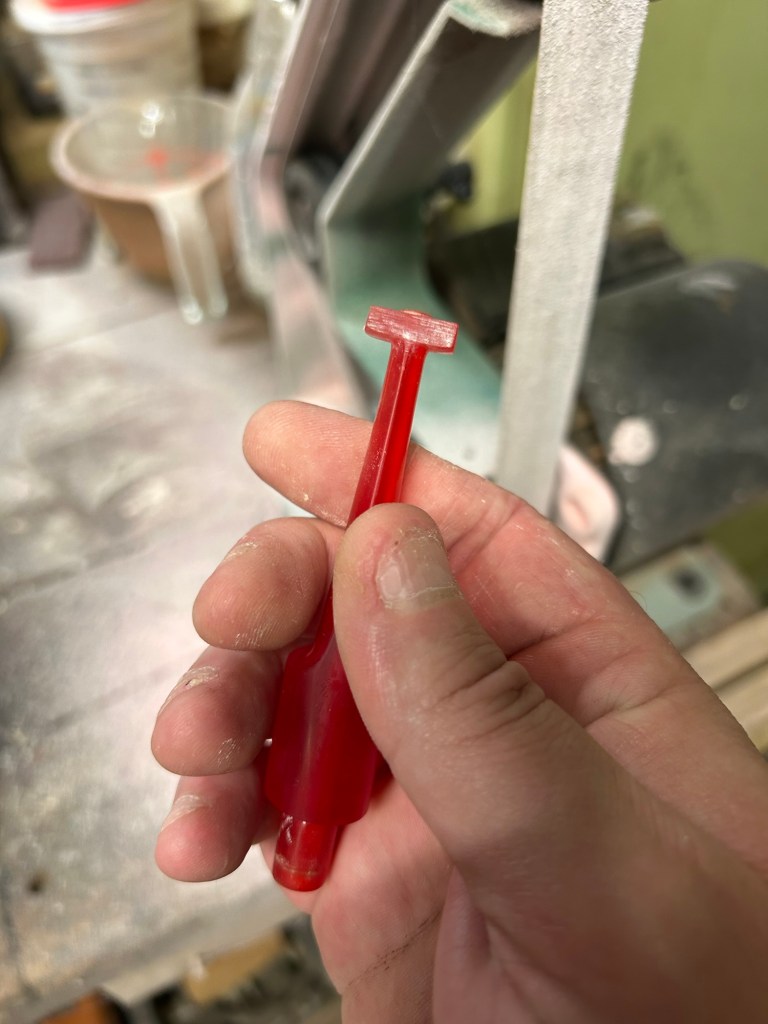
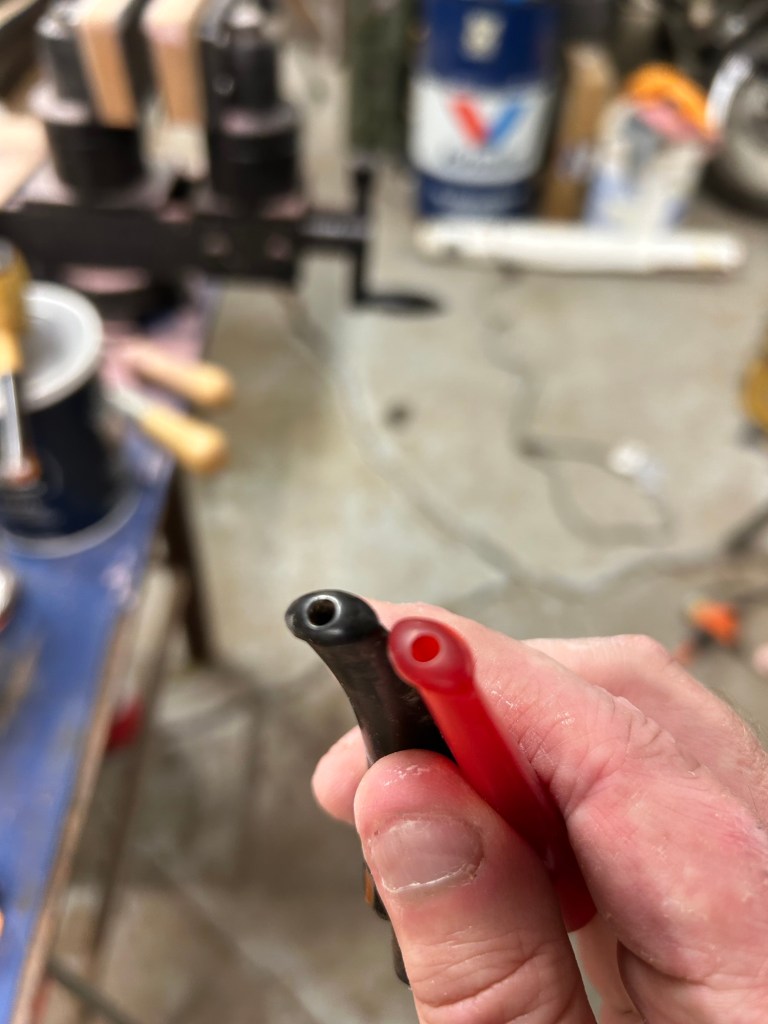
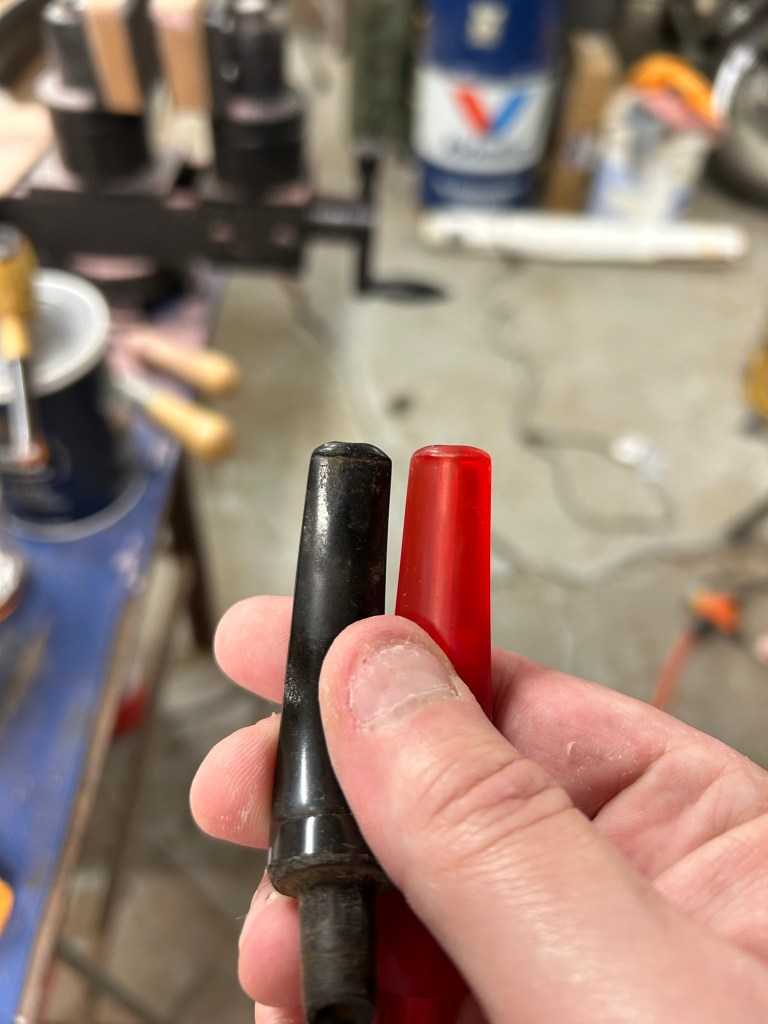
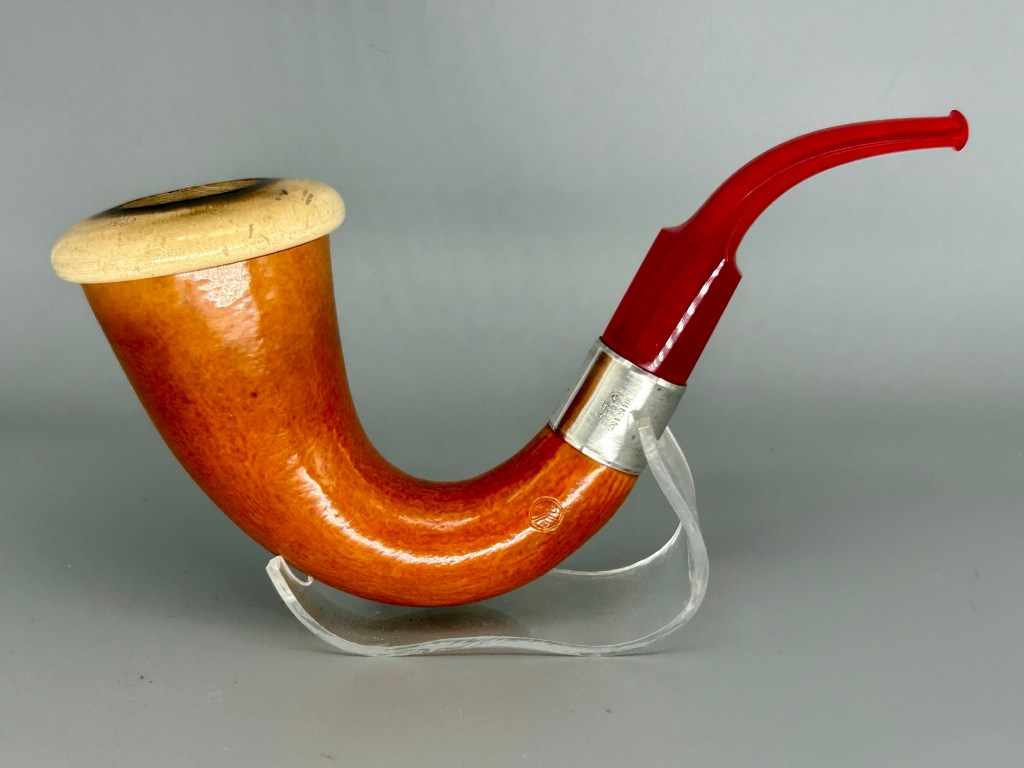
With the silver, gourd, and meer cup sorted it was time to tackle the stem. While the original bit was black vulcanite or gutta percha, I opted to give this old pipe something fitting of its scale and grandeur. For this I used a red amber acrylic rod made by pipe maker Doug Finlay. I thought this rod acted as good analog for period correct red amber.

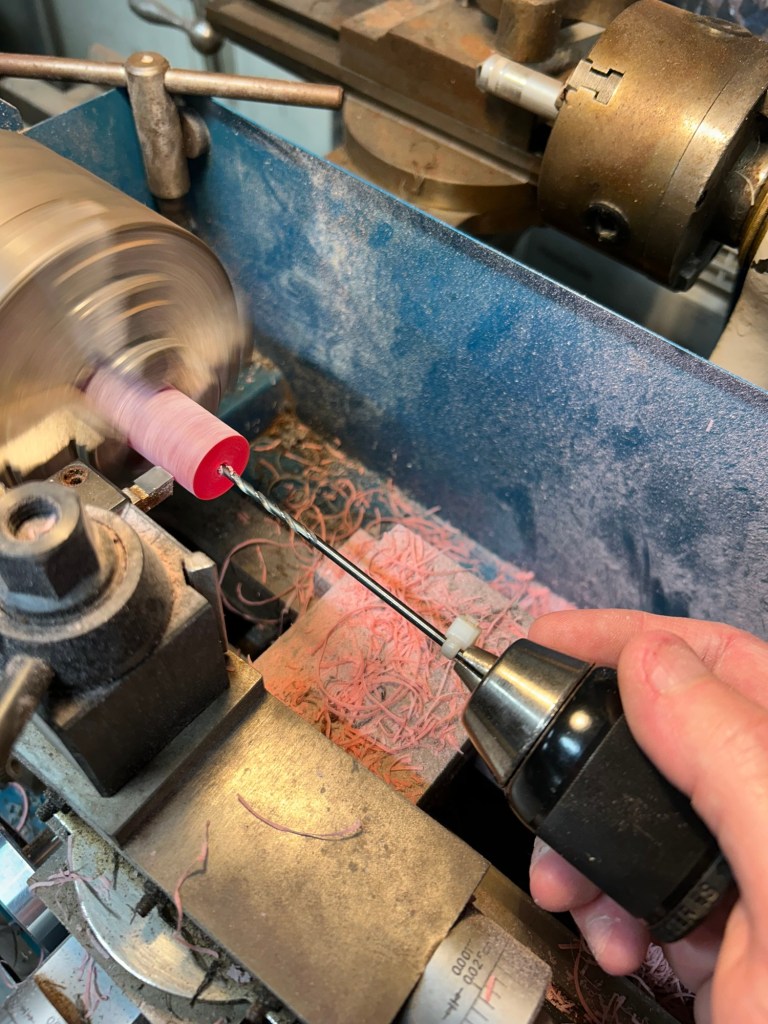
With a suitable piece of rod stock selected it was time to go to the lathe and start fitting it to the pipe and drilling the blank.
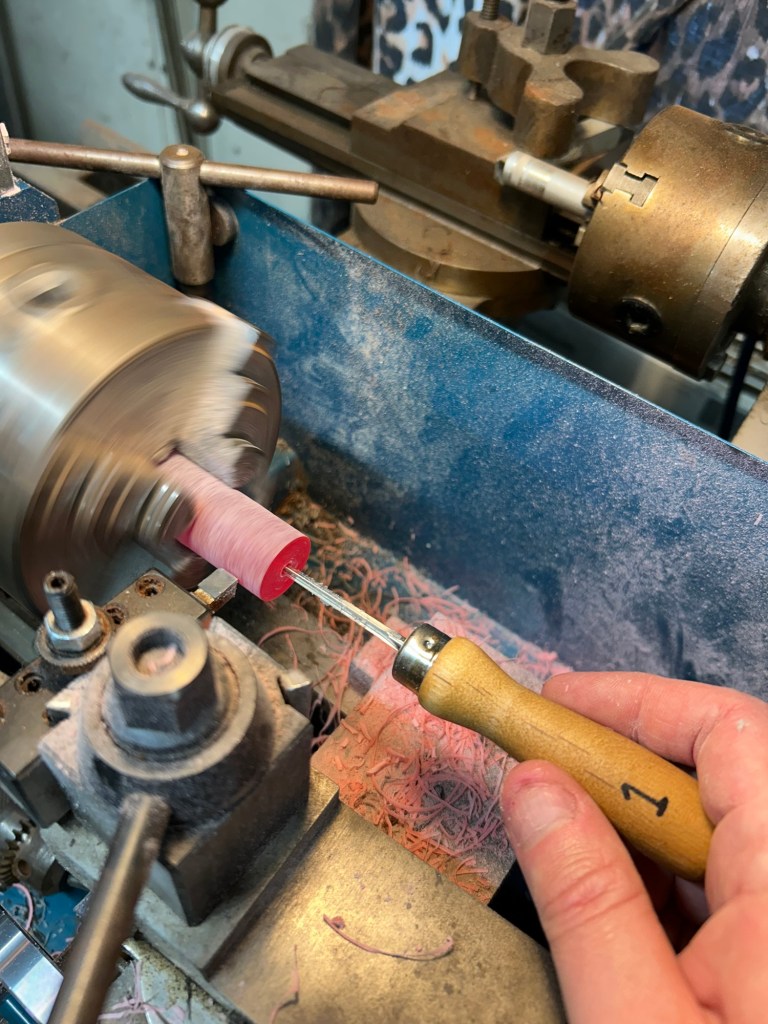
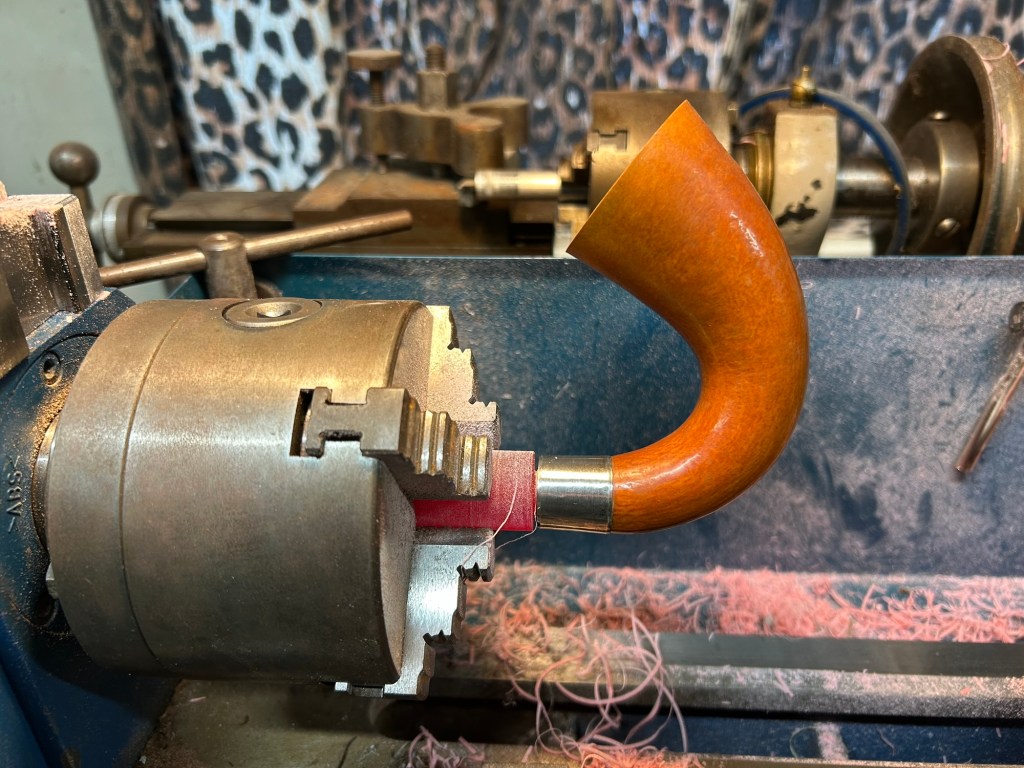
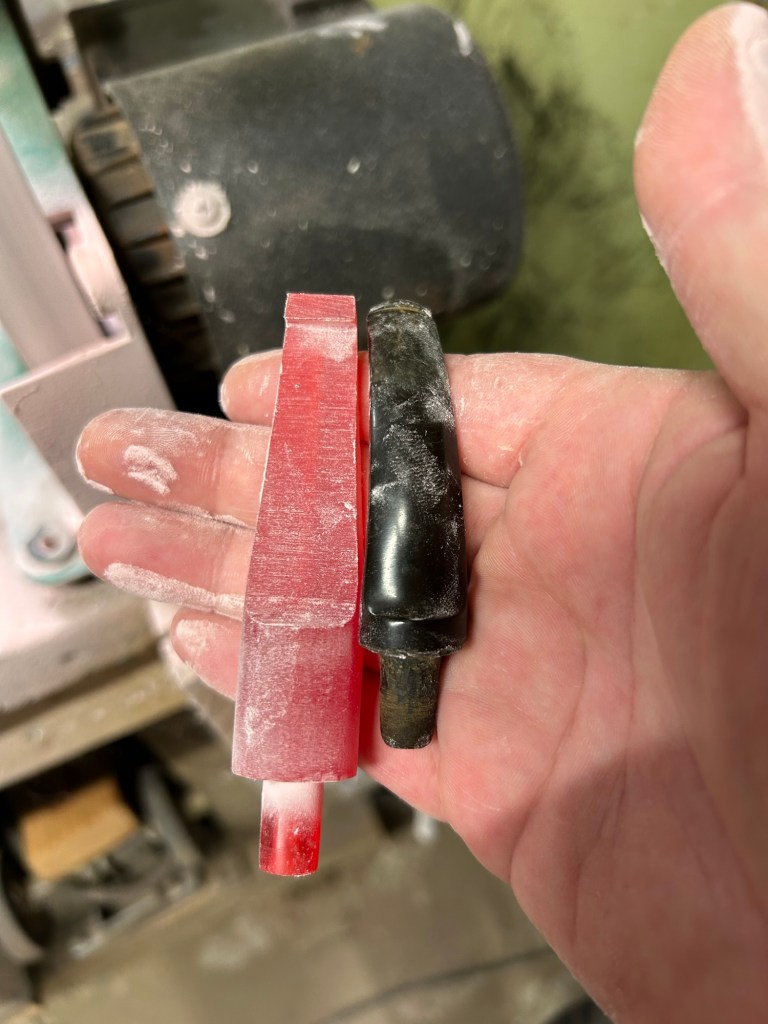
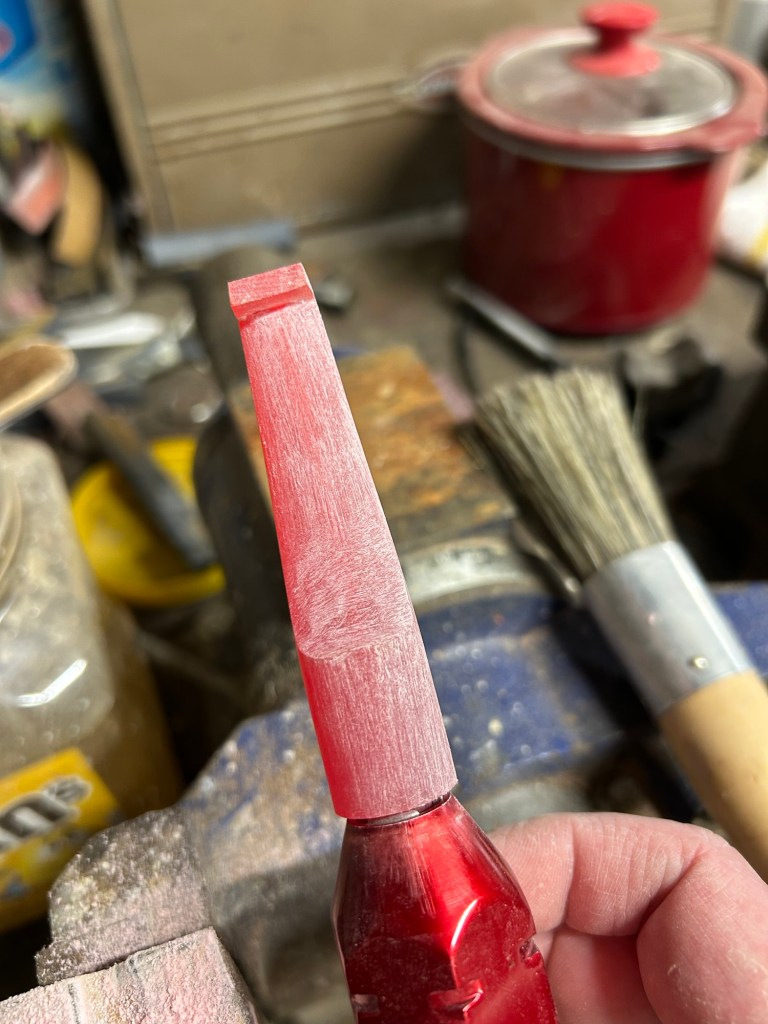
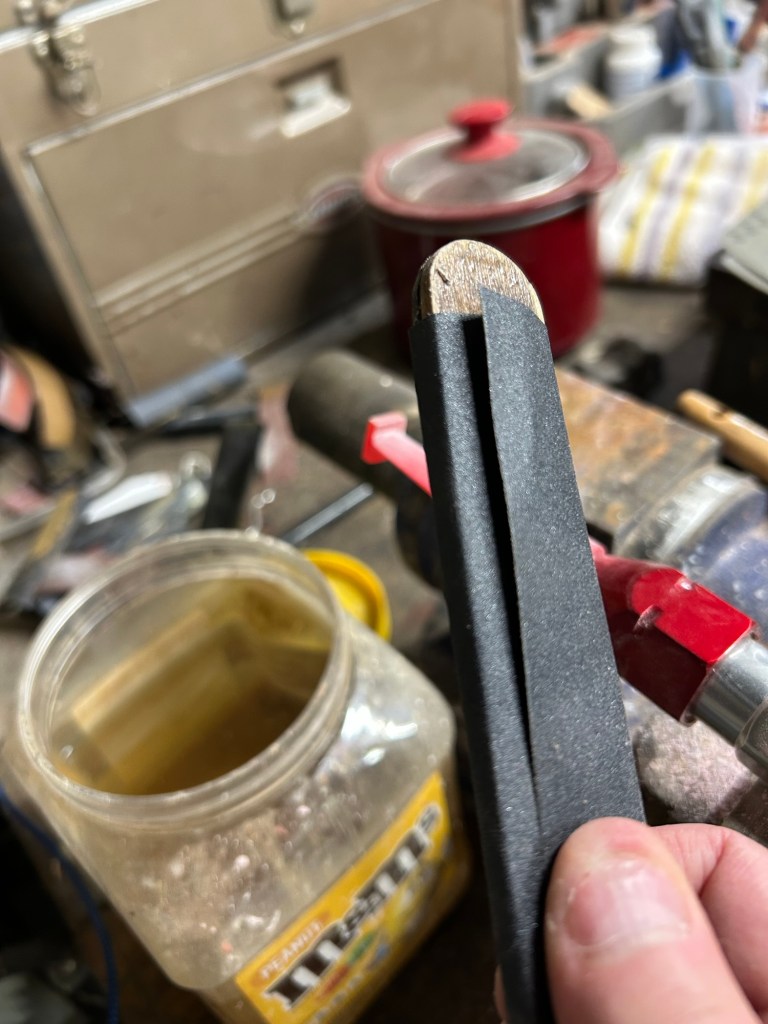
With the now formed and drilled stem blank fitted to the pipe it was time to start shaping it. With the stem fitted to the pipe and placed into the case, I used the witness marks from the old stem to establish my layout lines for the new stem.
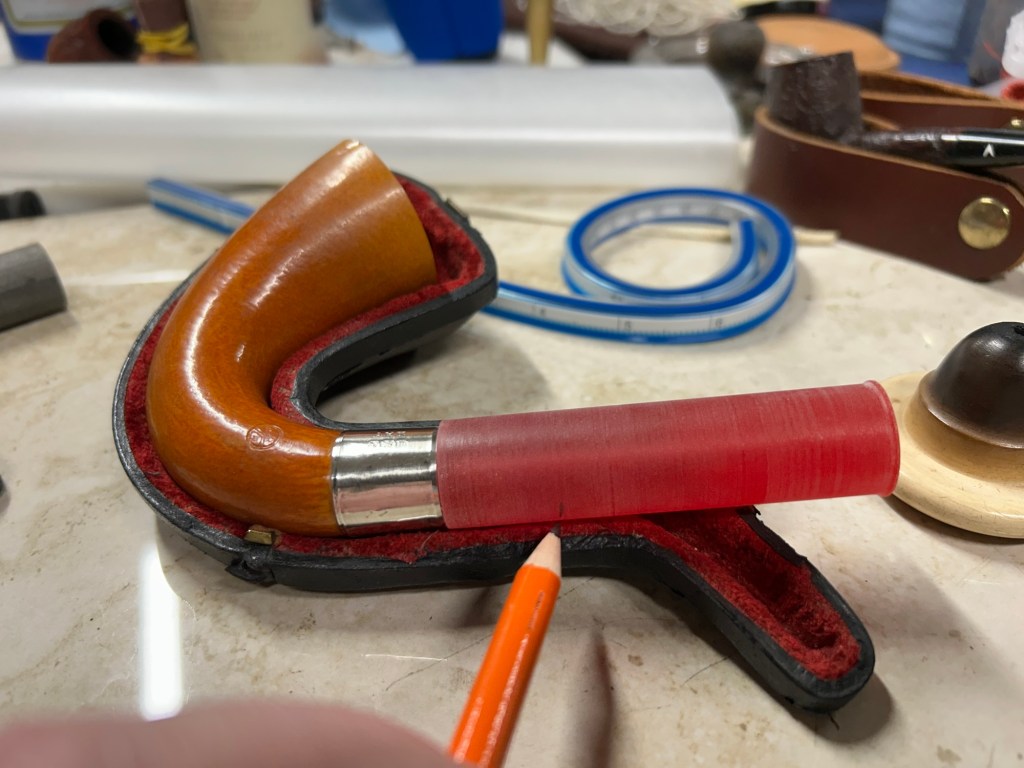
Once the stem dimensions were established I used painters fine line tape to make concentric and parallel layout lines.
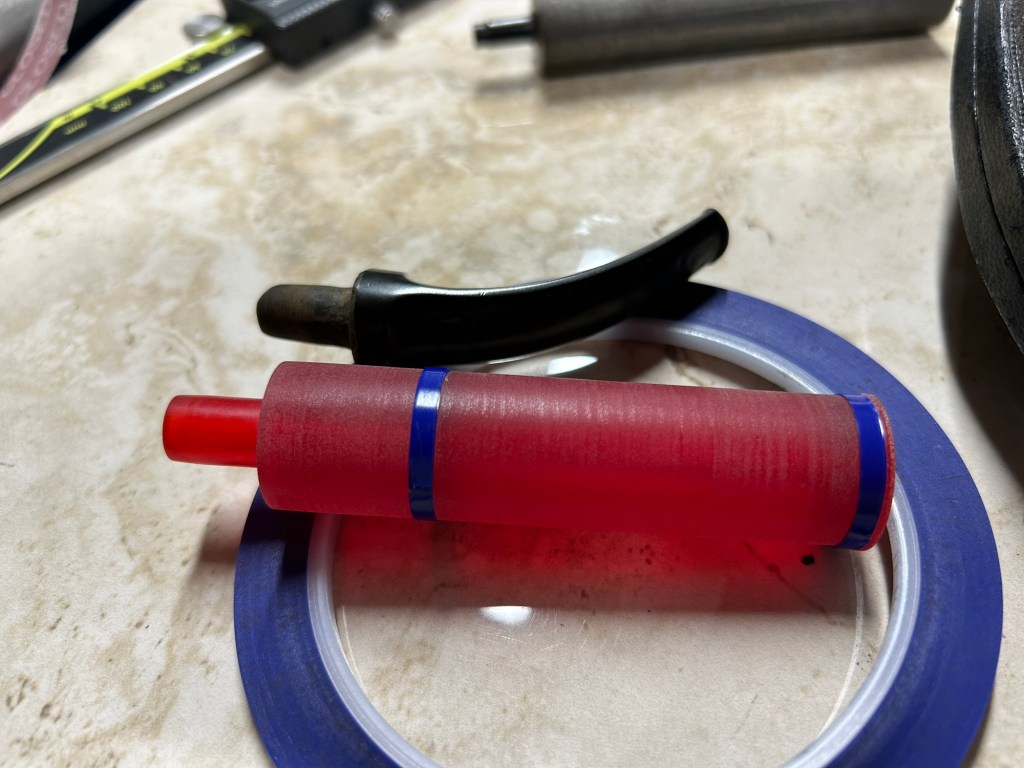
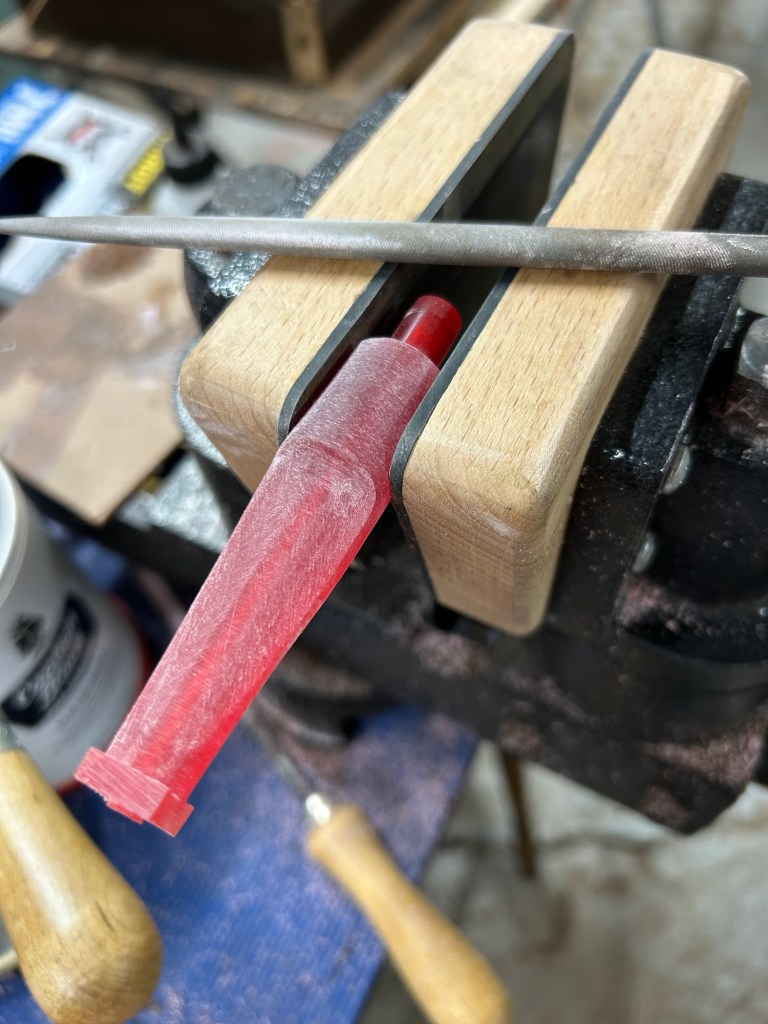
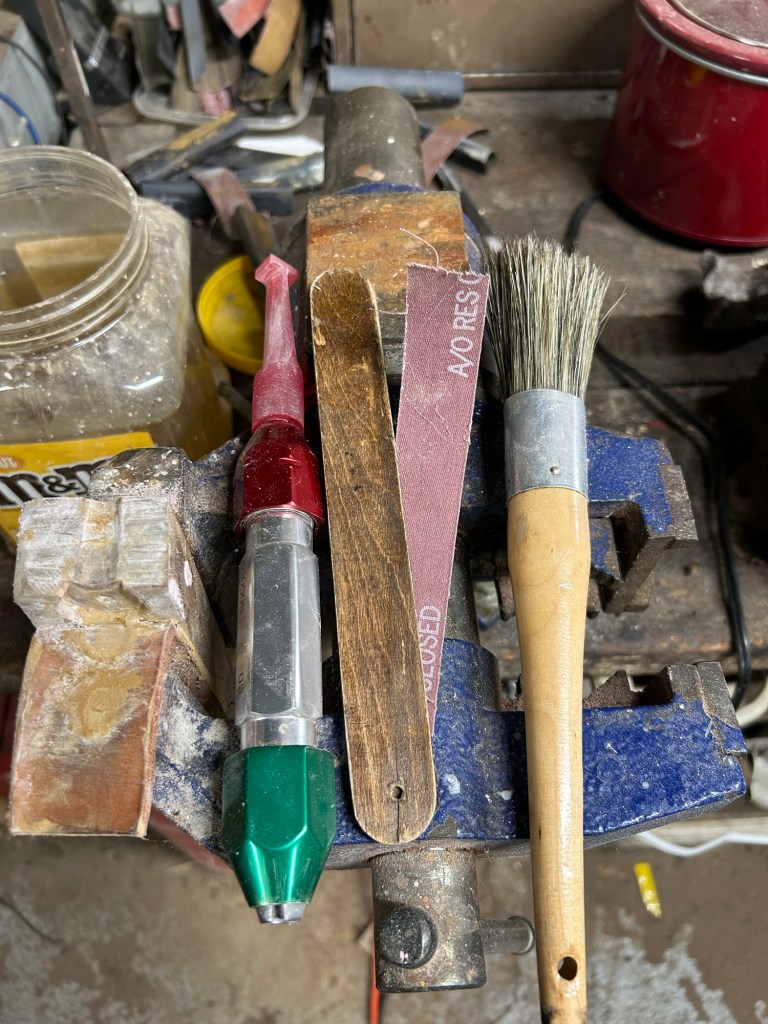
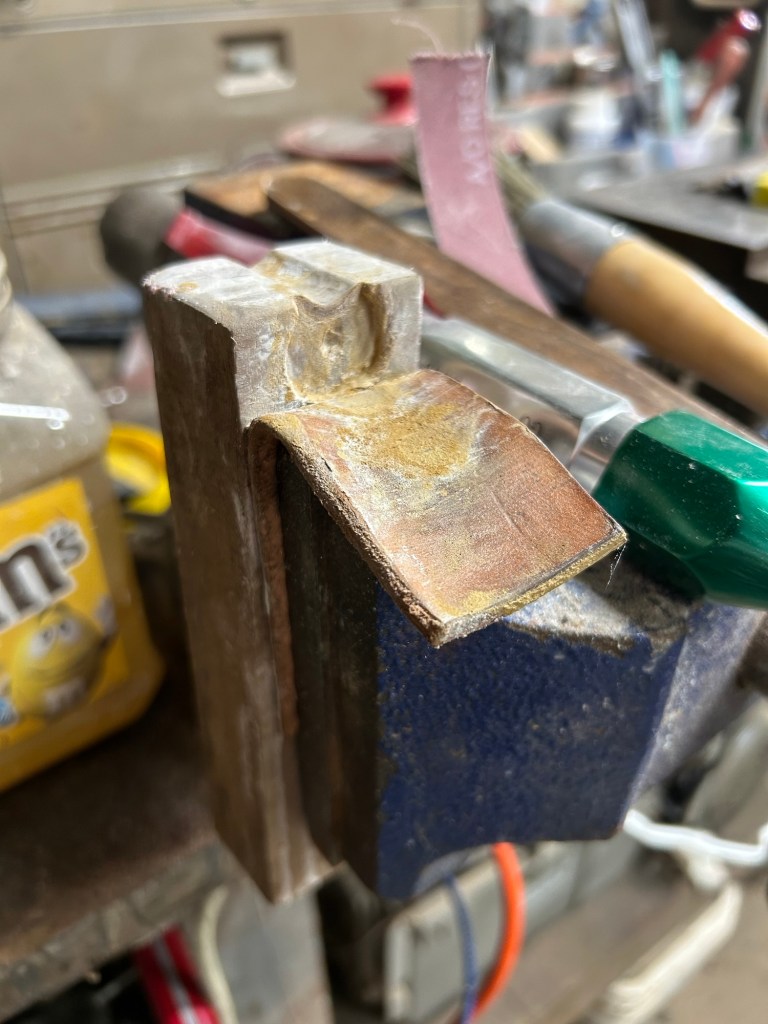
Normally I would do the bulk of my shaping with my 1” belt sander that I’ve modified to make stems with but, since this was such a large saddle I elected to do my initial shaping with hand files in a bench vise as it was easier to define the inside radius’s with files.
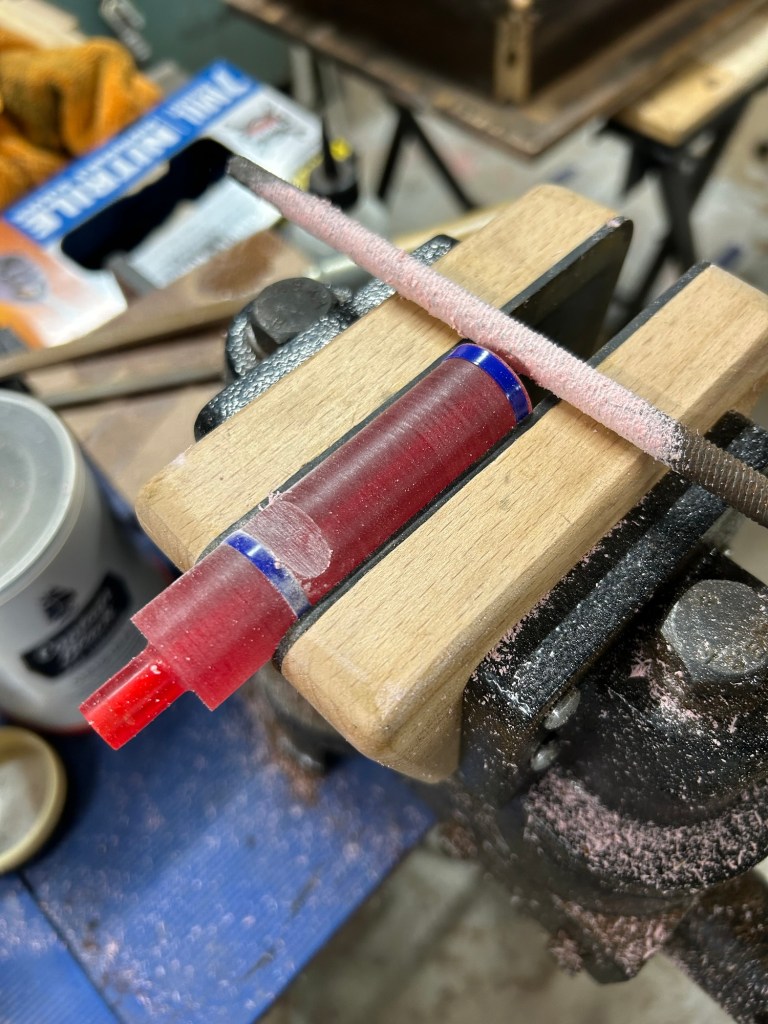
With the stem roughed in and matched to the original it was time to move to the belt sander.

With the stem shape established, it was time to move on to hand sanding. This was accomplished with a purpose made backing stick and grits 60, 80, 120, 220, 320, 400, 600, & 800. Each grit of paper is first ran across the stem and then parallel with the stem until all marks left by the previous pass are gone.
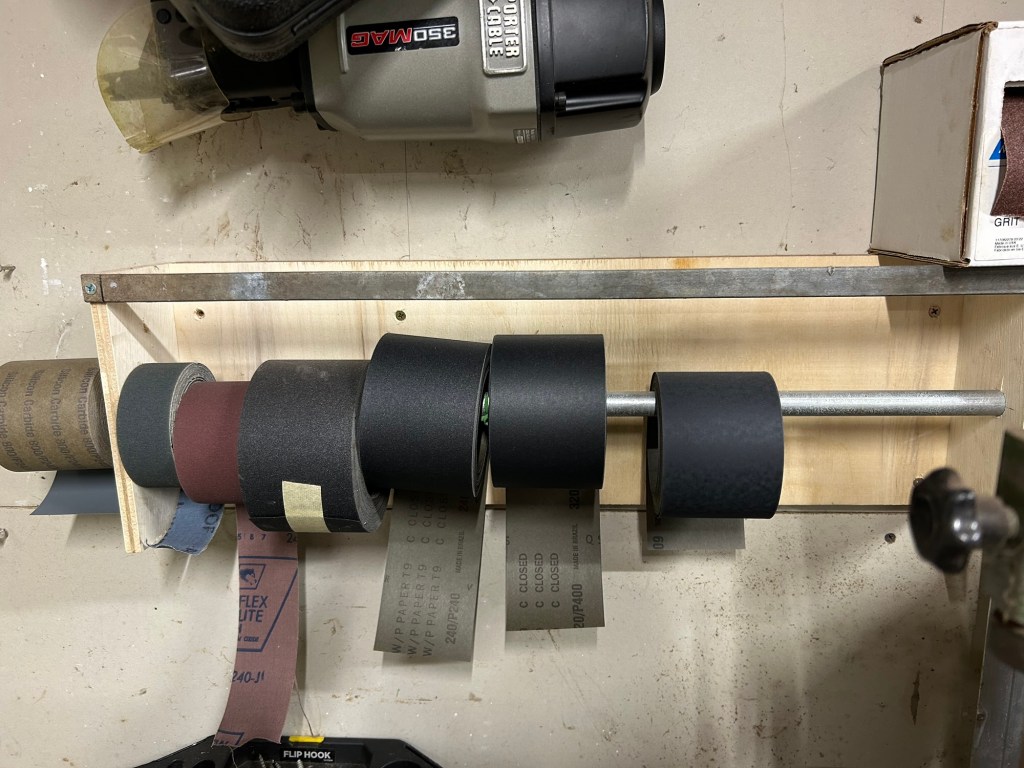
All sanding is done dry from 80-220g once I get to 320g I introduce water, I mix a few drops of dawn dish soap into my sanding water to prevent bacteria growth and add additional lubrication. I use a Meyer gauge to hold the stem by the tenon. This helps to prevent shoulder rounding and gives me something to hold on to.
With the hand sanding complete it’s time to move onto button shaping.

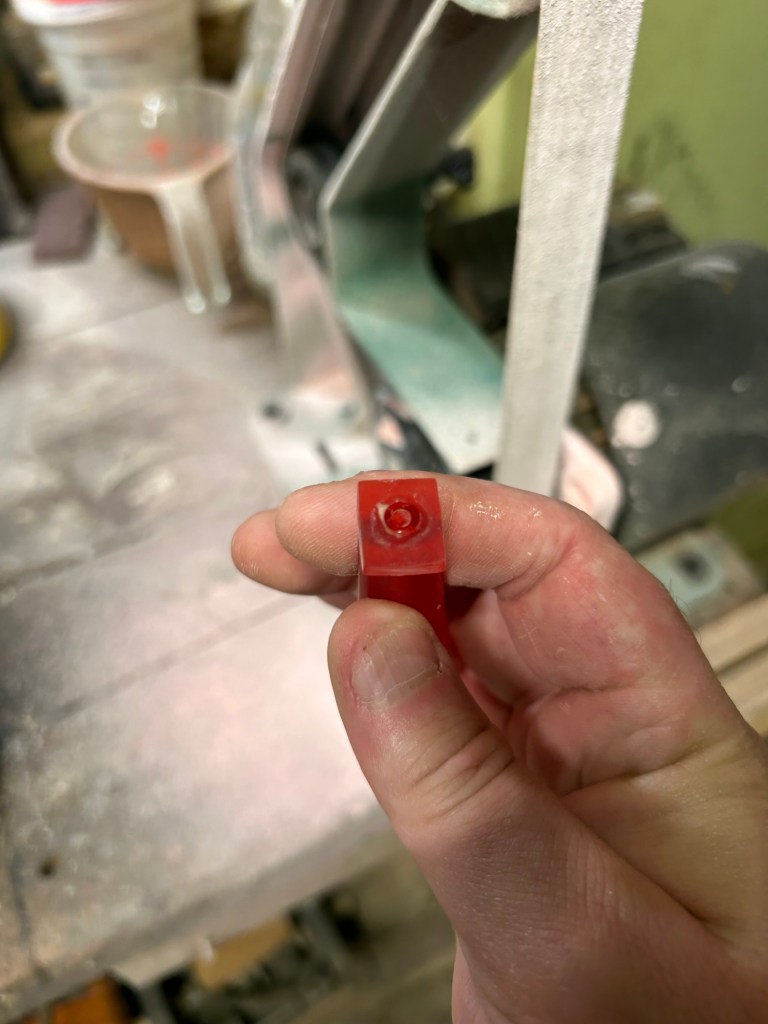
The button is rough shaped on the belt sander and then refined with hand sanding.
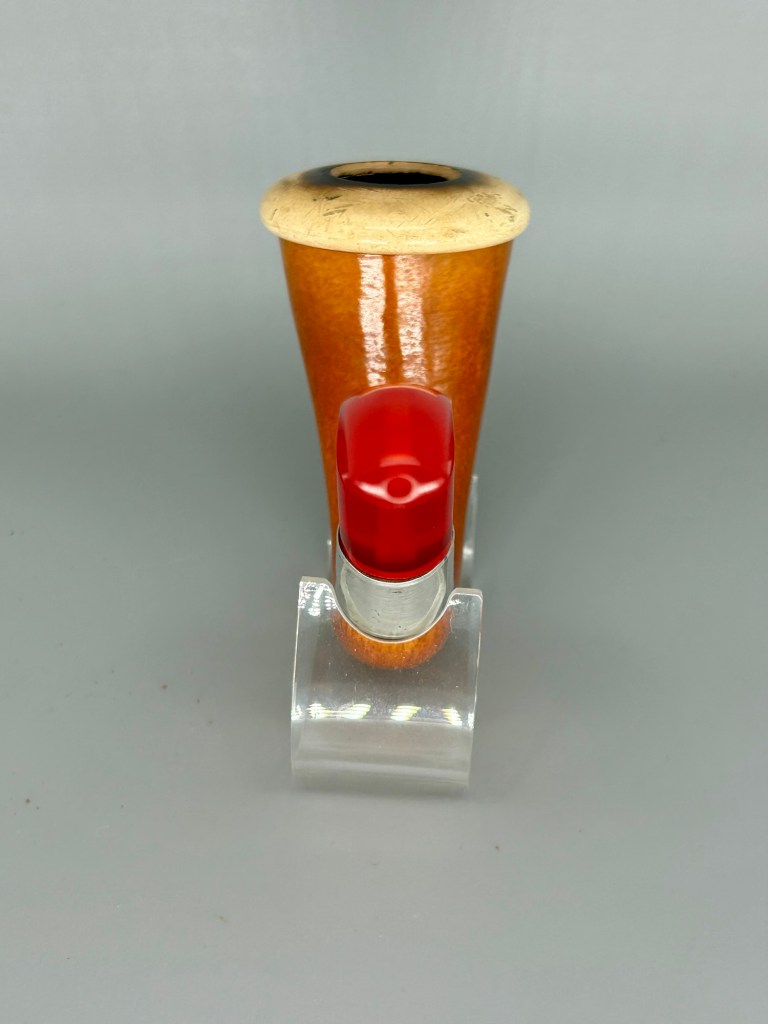
I copied the original orific button and bore size, the chamfer was accomplished with a countersink bit and hand sanding to radius.
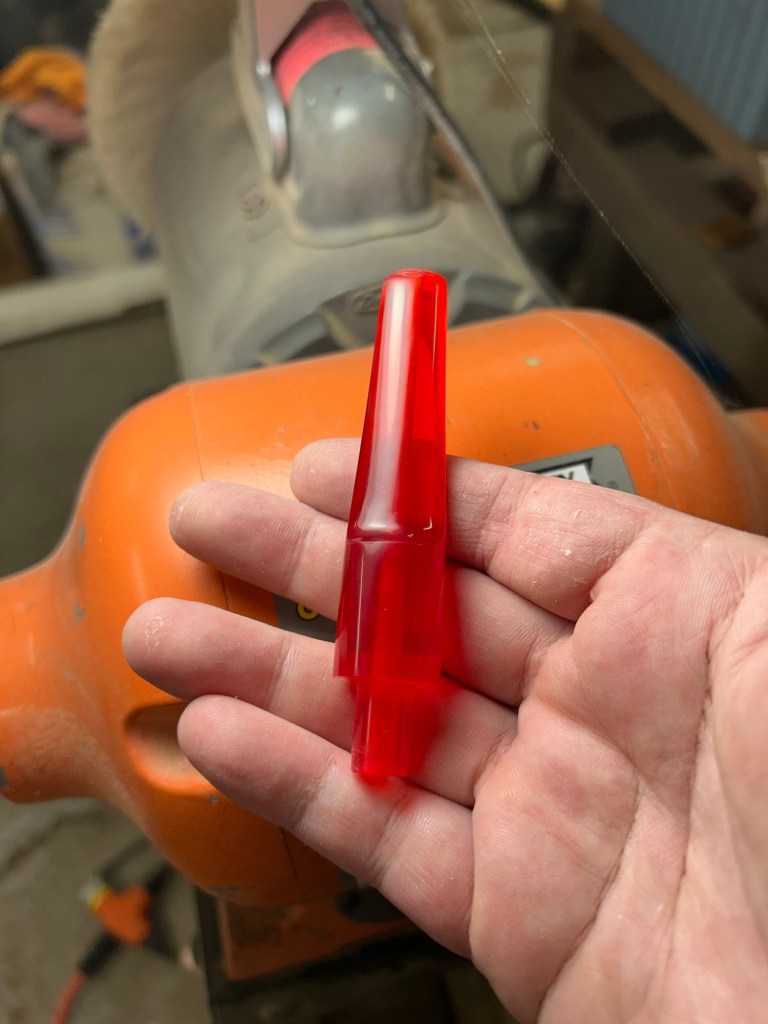
With the stem fully formed and polished to 800g it was time for initial wheel polishing. This is done with a 6” stitched cotton wheel @ 3000 rpm with a specialty rubber/plastics compound.
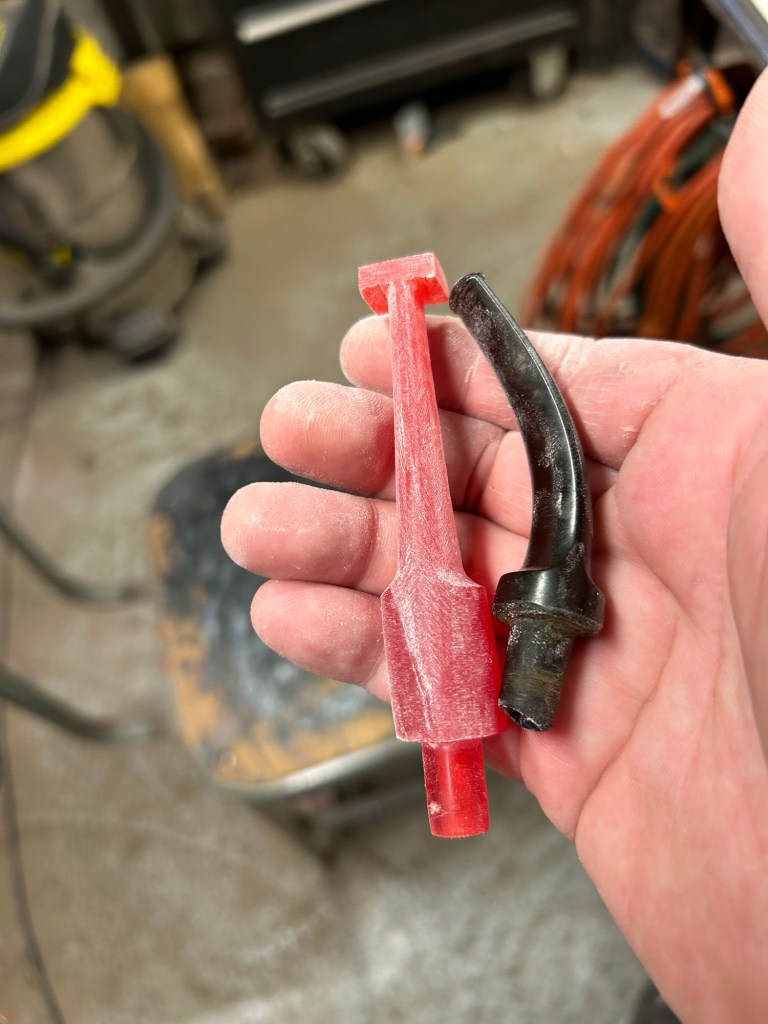
Once the initial polish is complete it’s time to bend the stem to fit the case. This was an especially difficult task, I had to bend and re-bend several times to compensate for cooling to get it fit the curvature of the case.
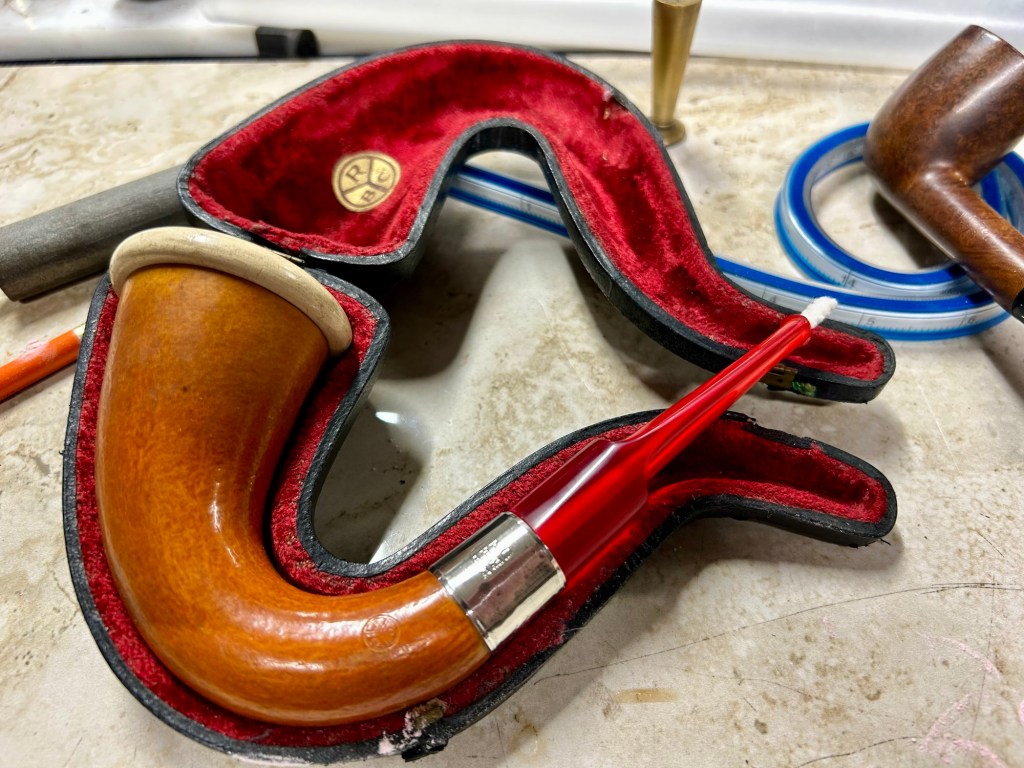

I use a controlled temp heat gun for all my bending, I like to be able to dial in specific temps based on how material reacts to heat. Bending is always a slow deliberate process but in this “case” (pun intended) it was well worth it. After the stem has cooled, it’s wheel polished one more time.
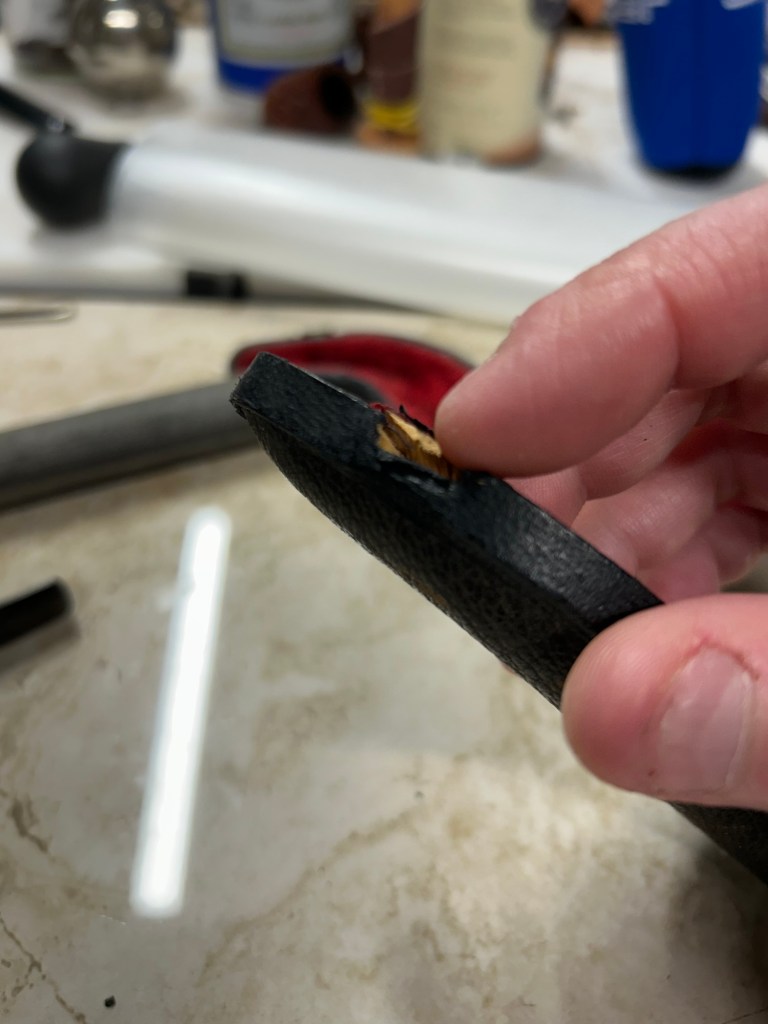
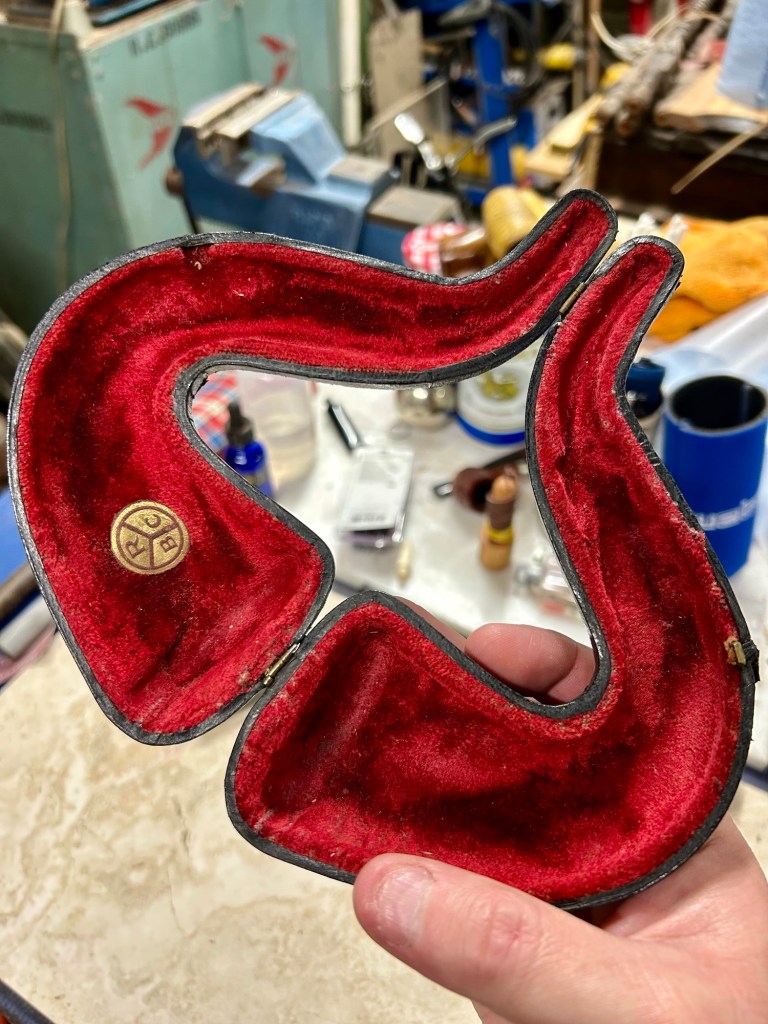
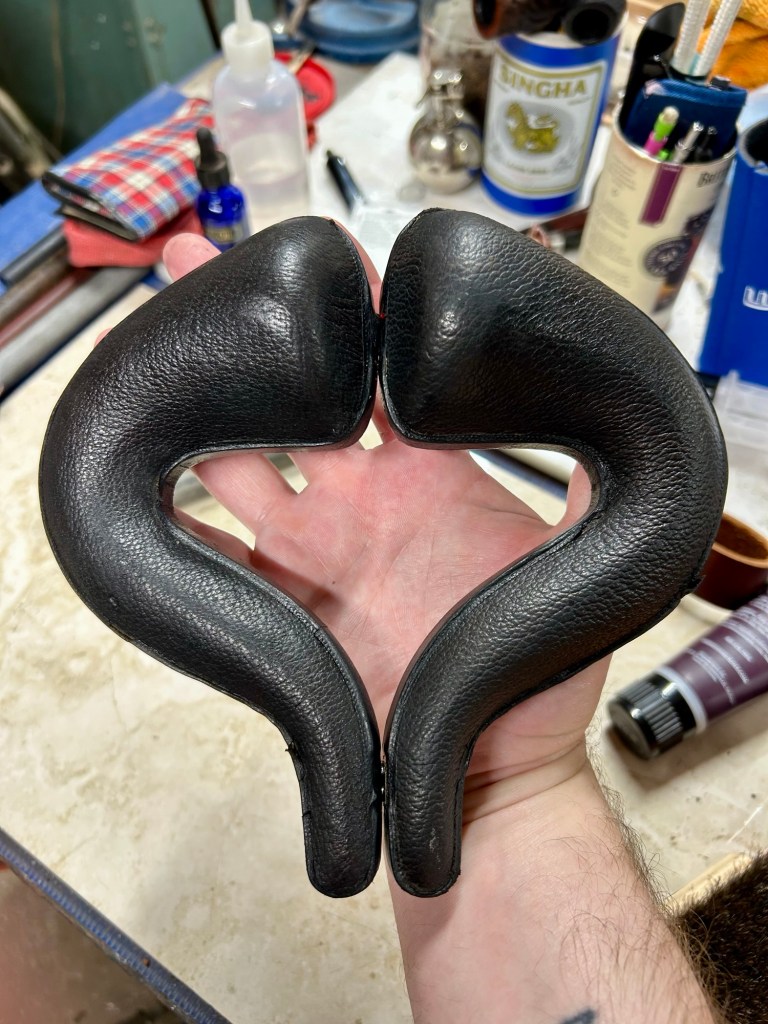
With the pipe itself fully sorted it was time to focus on the absolutely thrashed case.
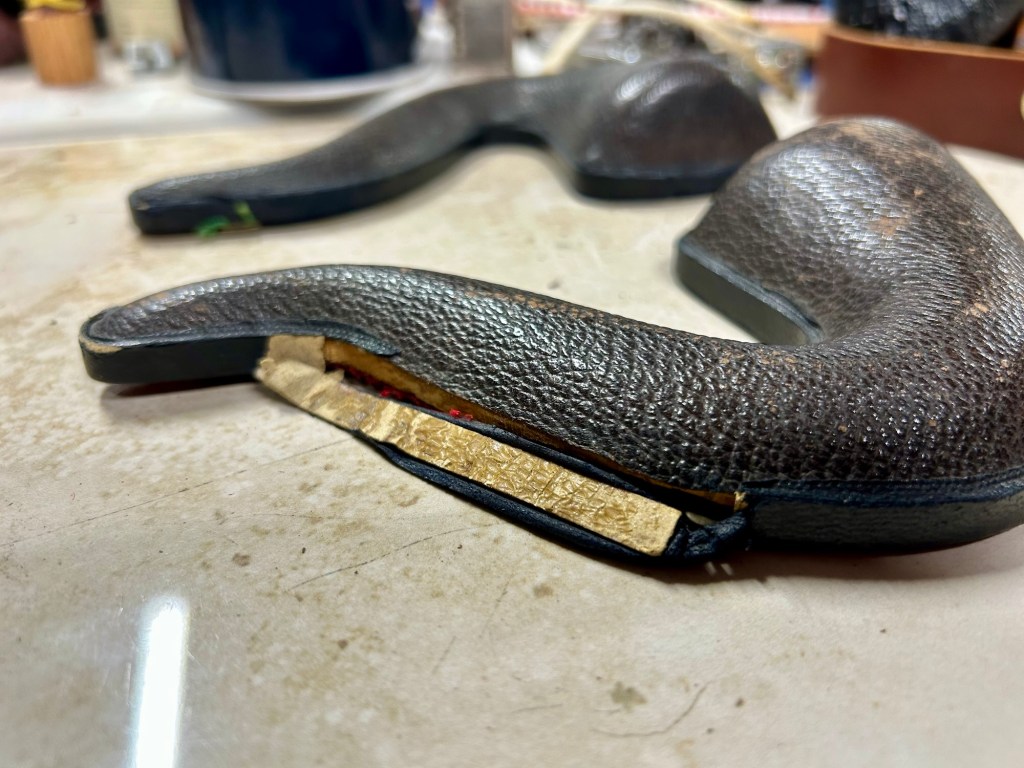
Both hinges and rim plates were broken and the binding on both halves was coming off. The first thing to do was sort out the binding.
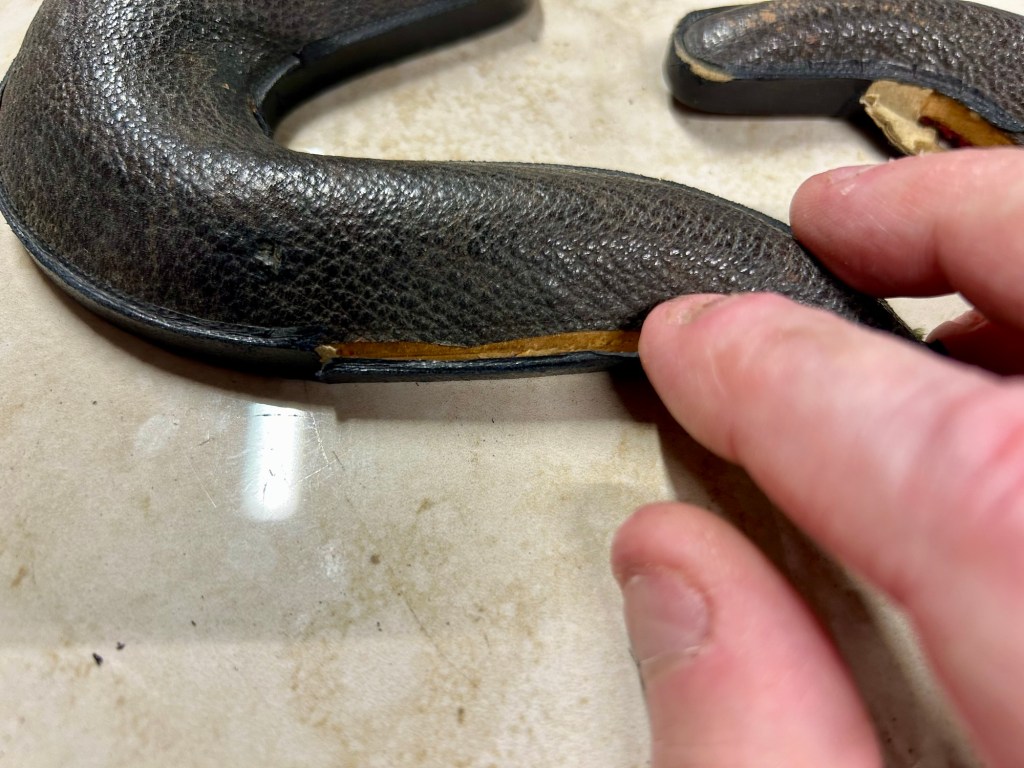
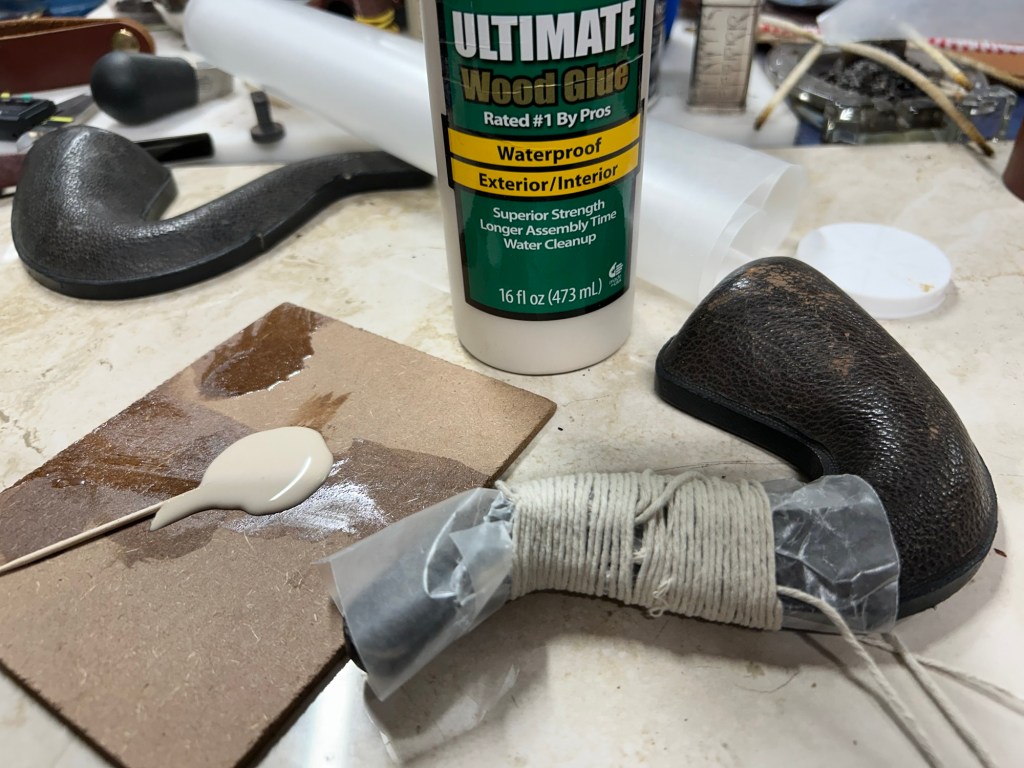
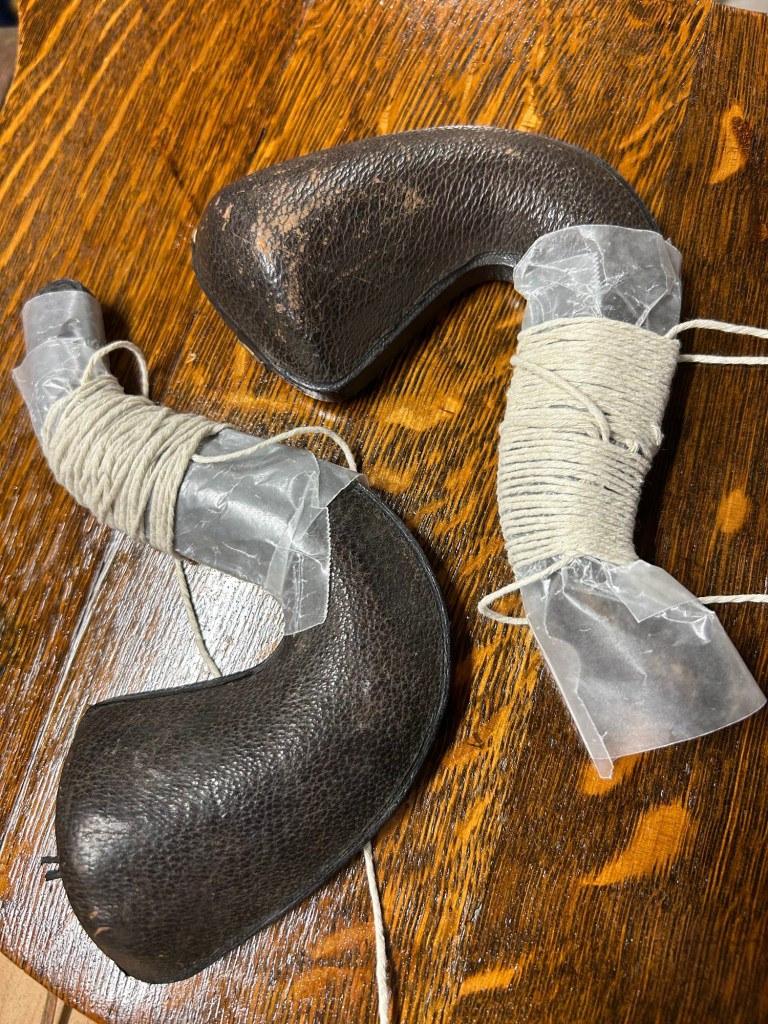
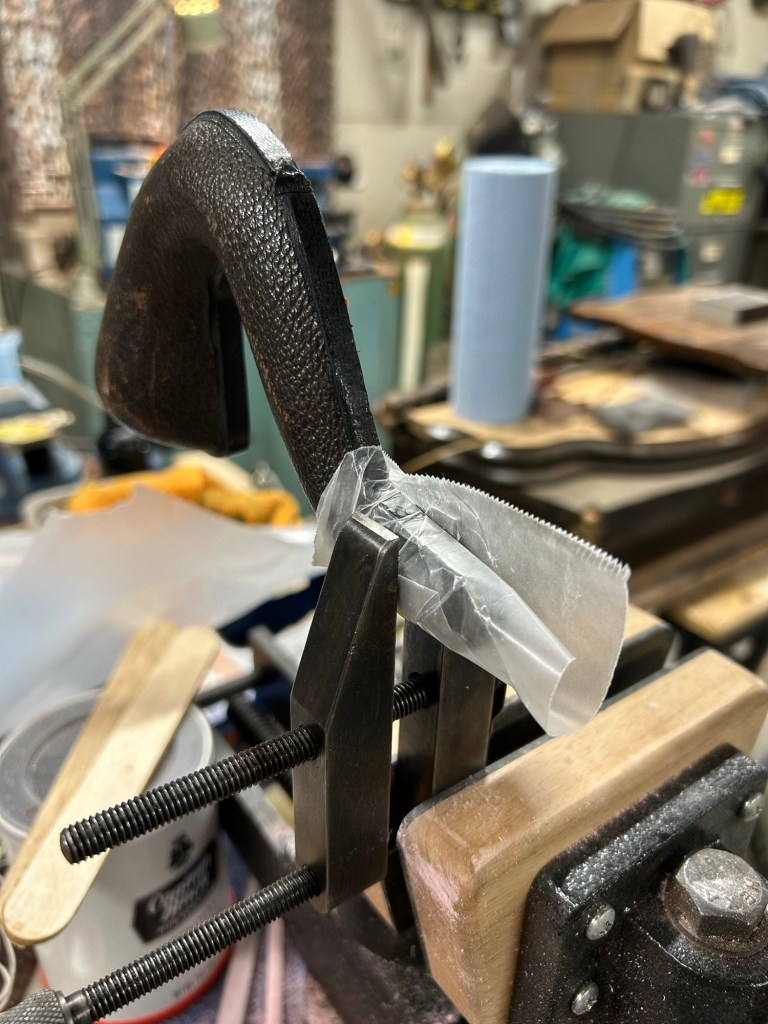
To rectify the binding issues I coated both the inside of the binding and outside of the case under the binding with plain old wood glue. Once the glue was applied I wrapped both case halves in wax paper and bound them with sting to hold everything in place tightly.
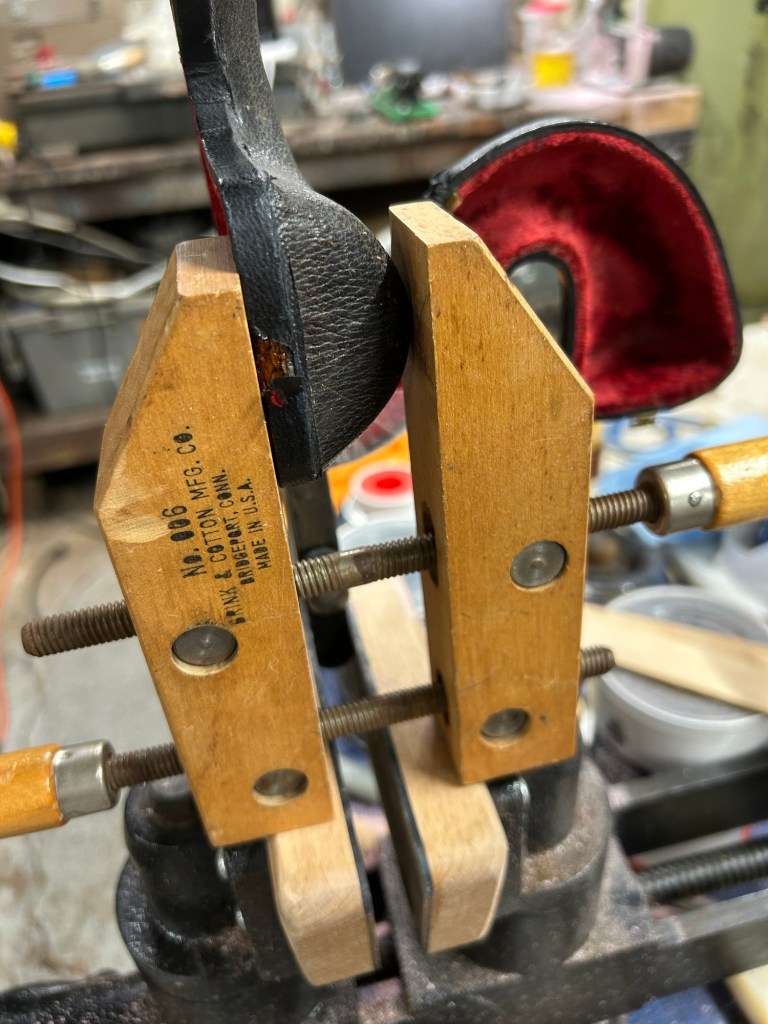
Once the glue was fully cured it was time to sort out the rim plates where the hinges fastened. These were repaired with bass wood sawdust and marine epoxy and clamped and let to cure.
After all gluing was completed, I re-blacked some areas with an industrial black dye marker.

Now it’s time re-join the case halves together.
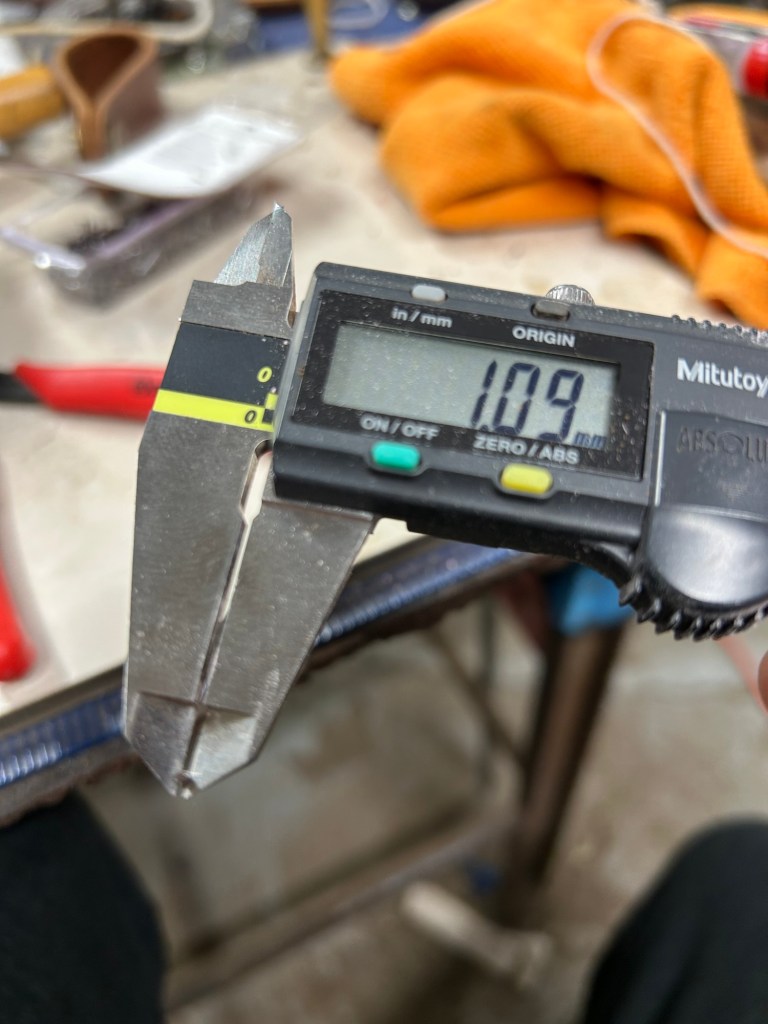
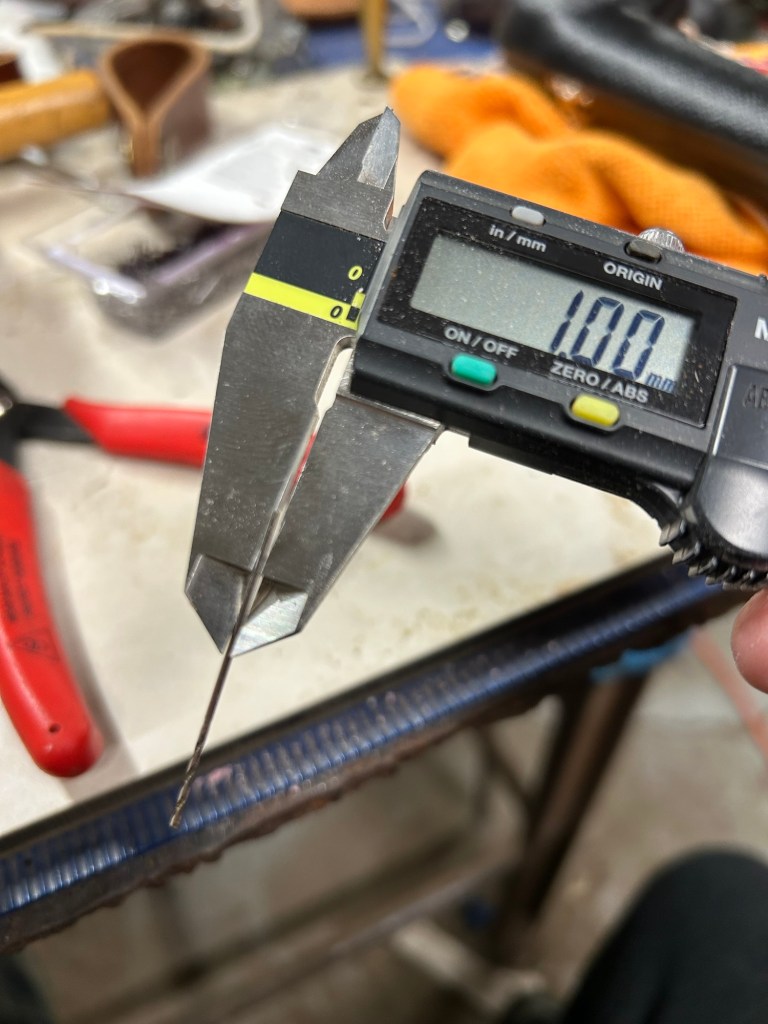
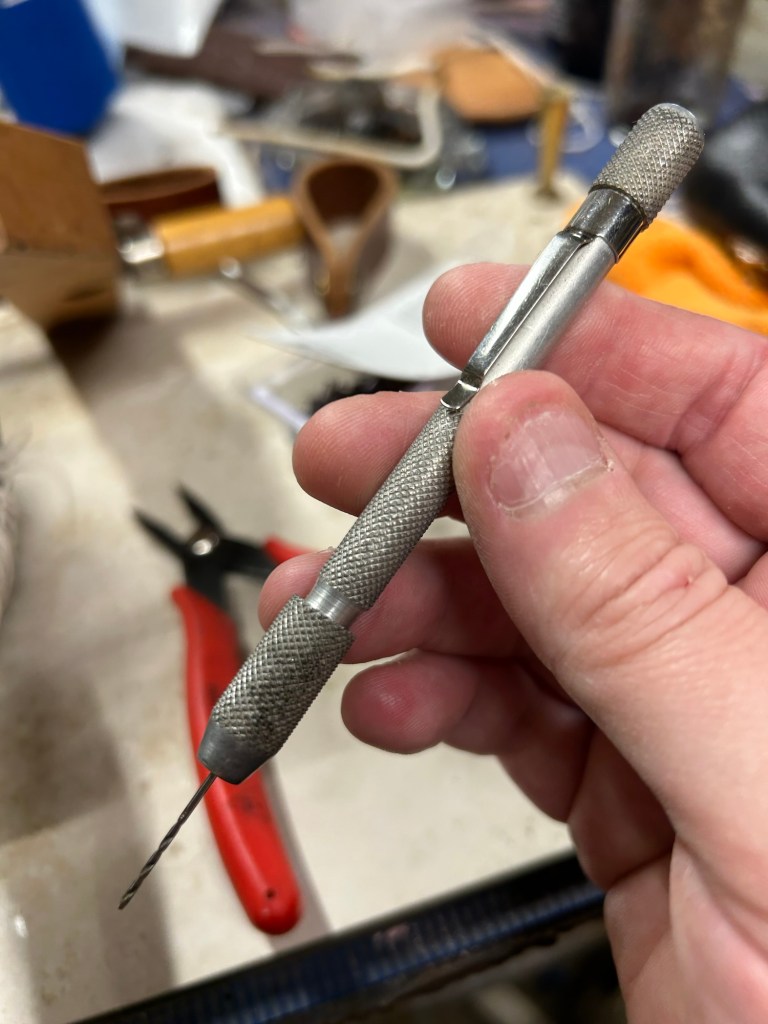
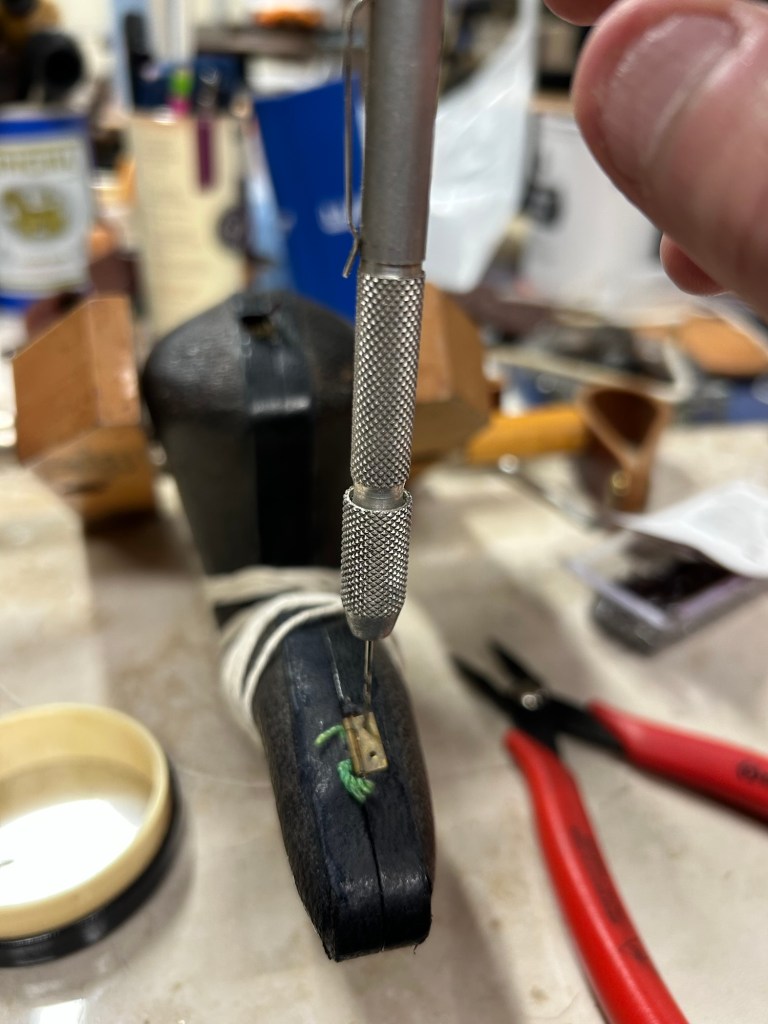
I bound the case halves with the pipe inside and drilled the new hinge pin holes with a torch tip drill the same size as my new hinge nails. I then cut my nails to length and epoxied them in place.
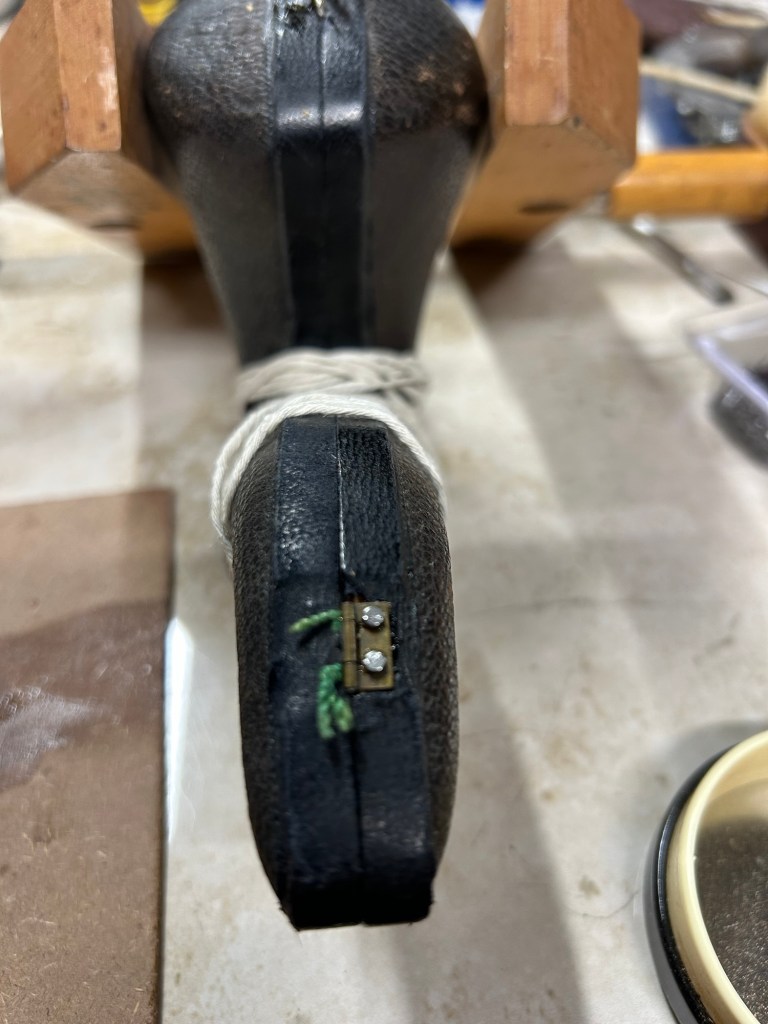
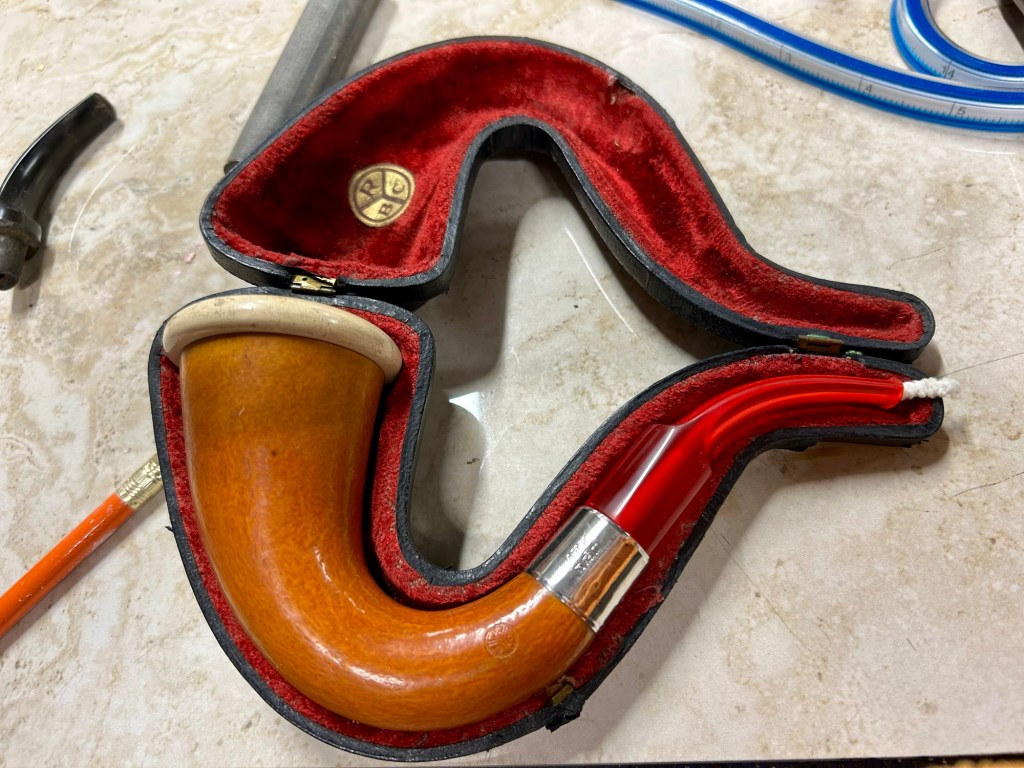
With the case halves rejoined and repaired, it was time to give it a shine. Some black shoe creme and horse hair brush made quick work of it.

Thanks for joining me on this repair journey! Happy smokes friends and stay tuned for more antique pipes!

Leave a reply to observantb45ac8ca5f Cancel reply